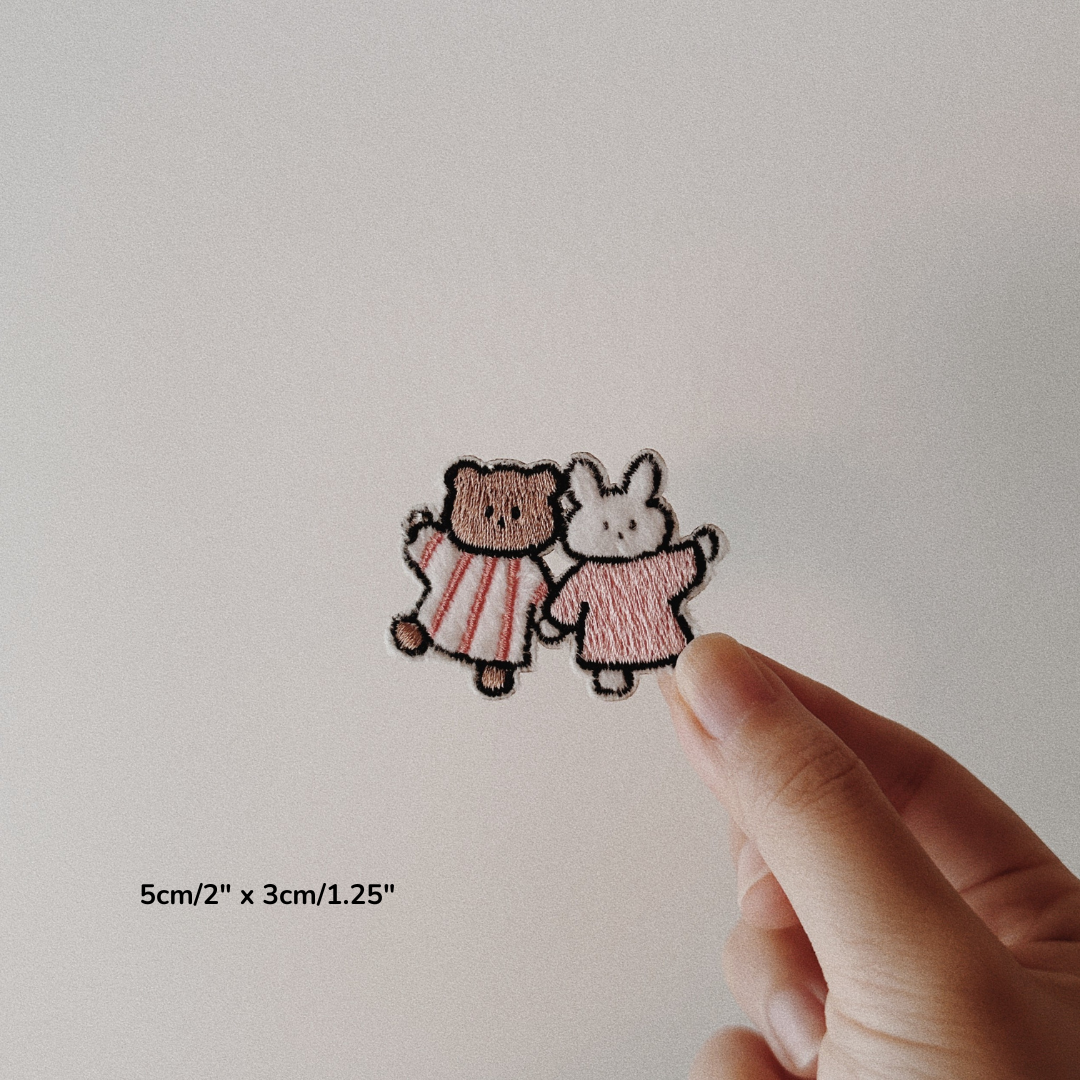
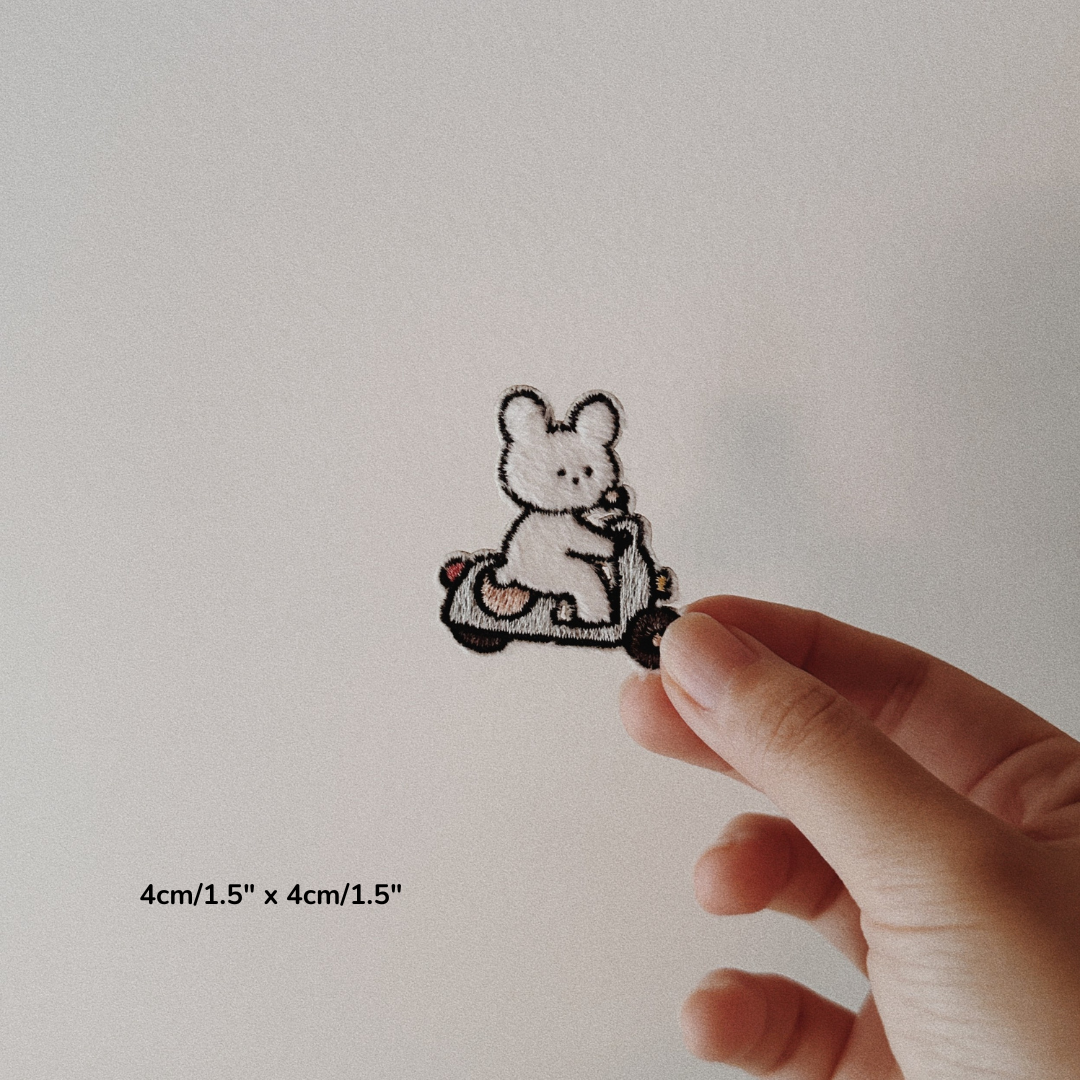
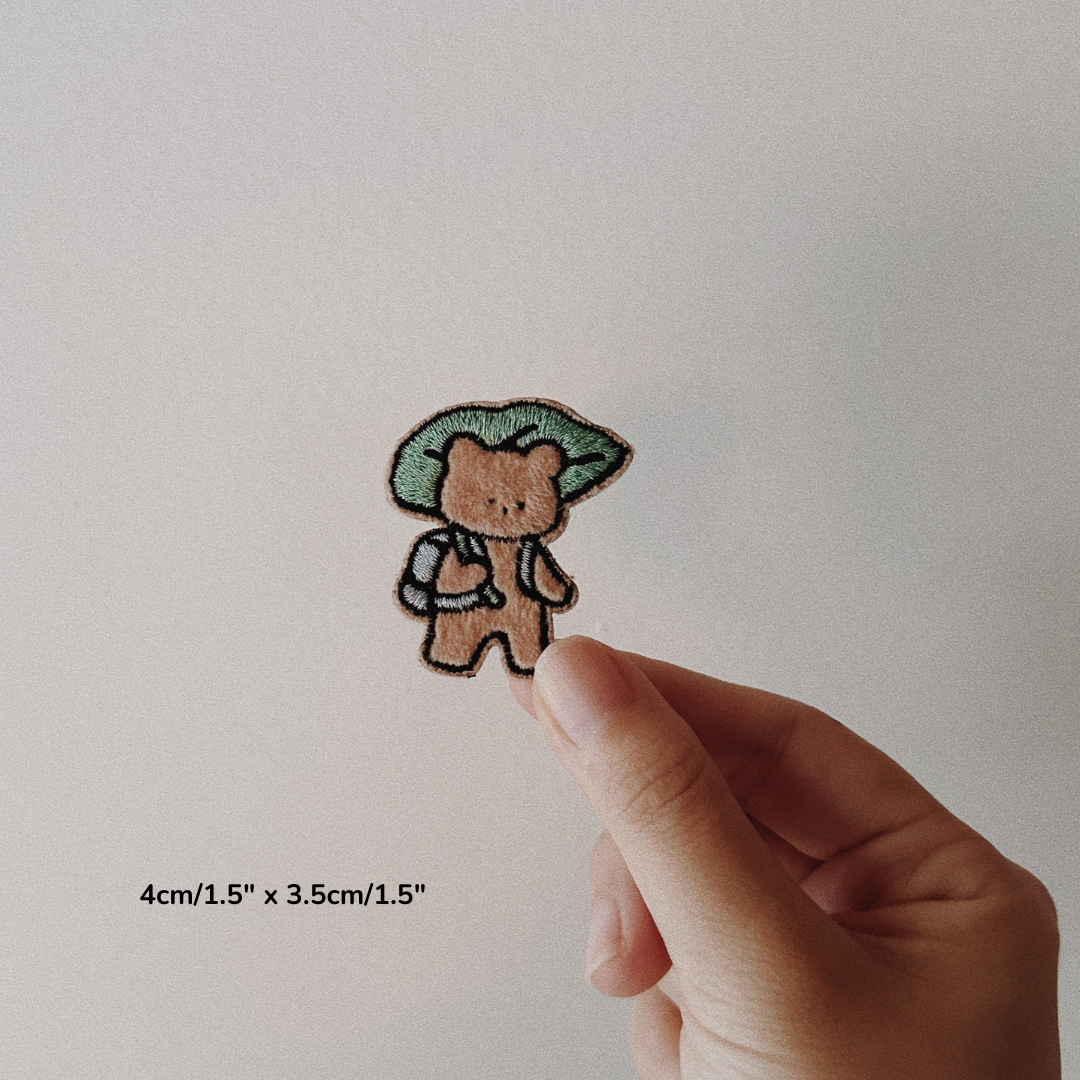
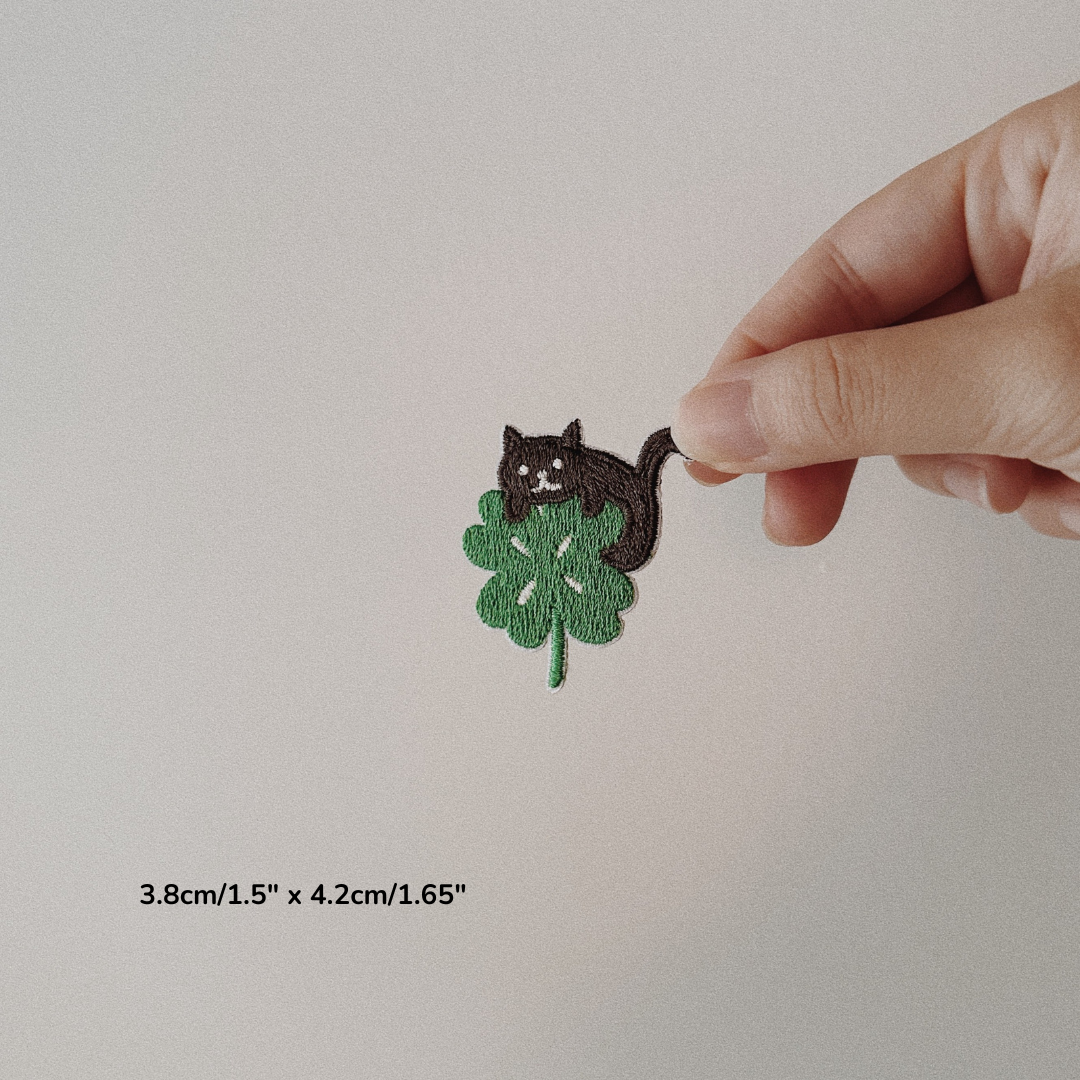
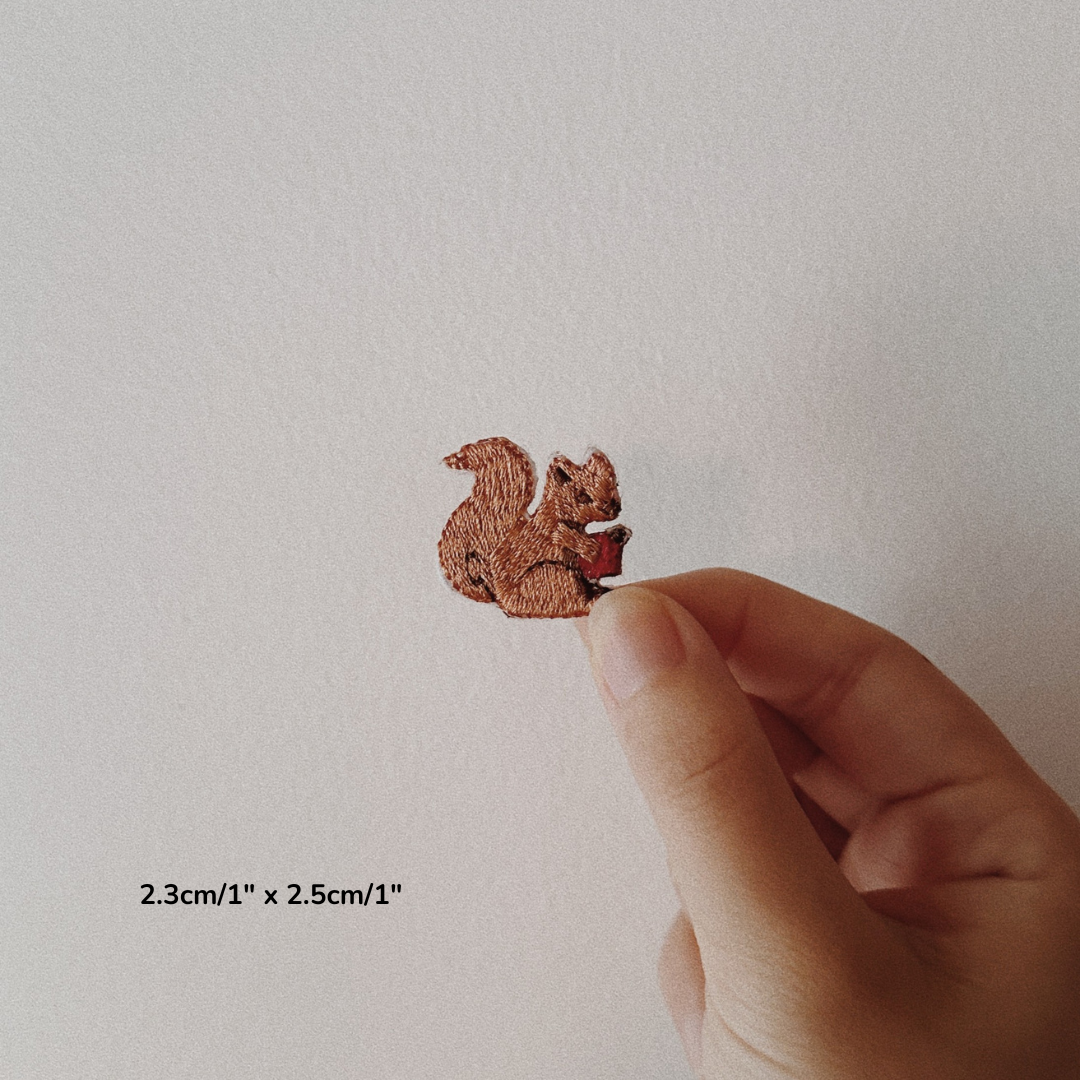
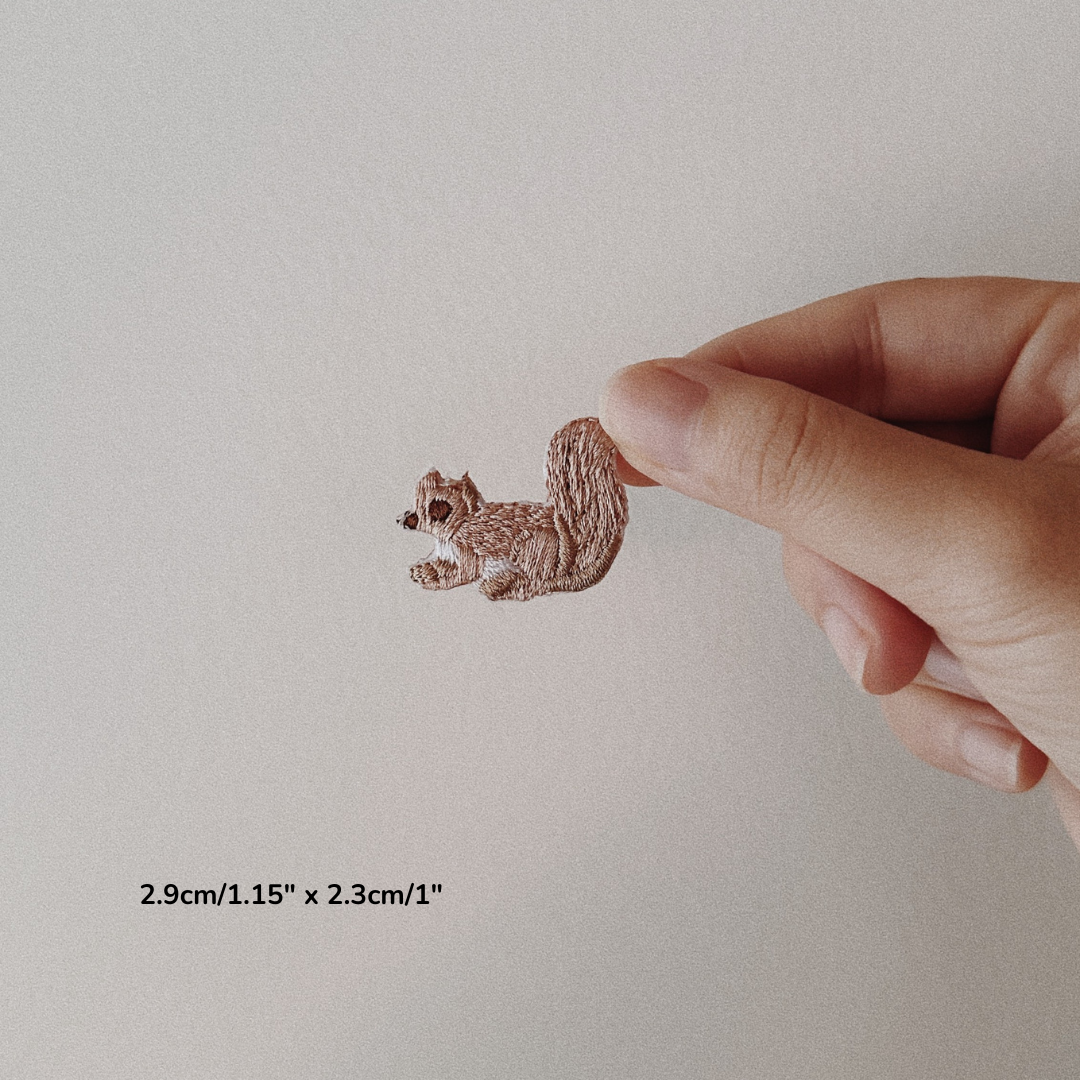
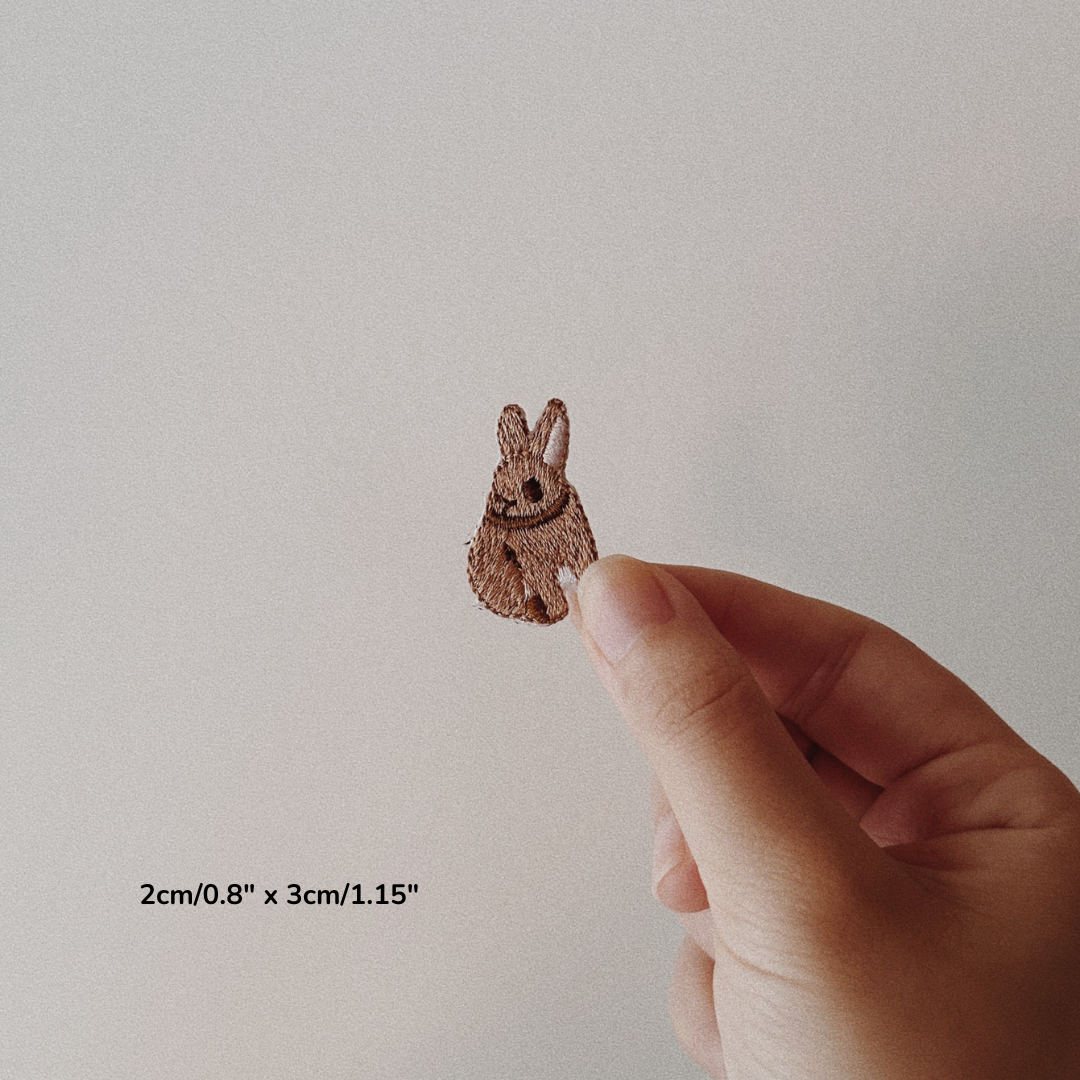
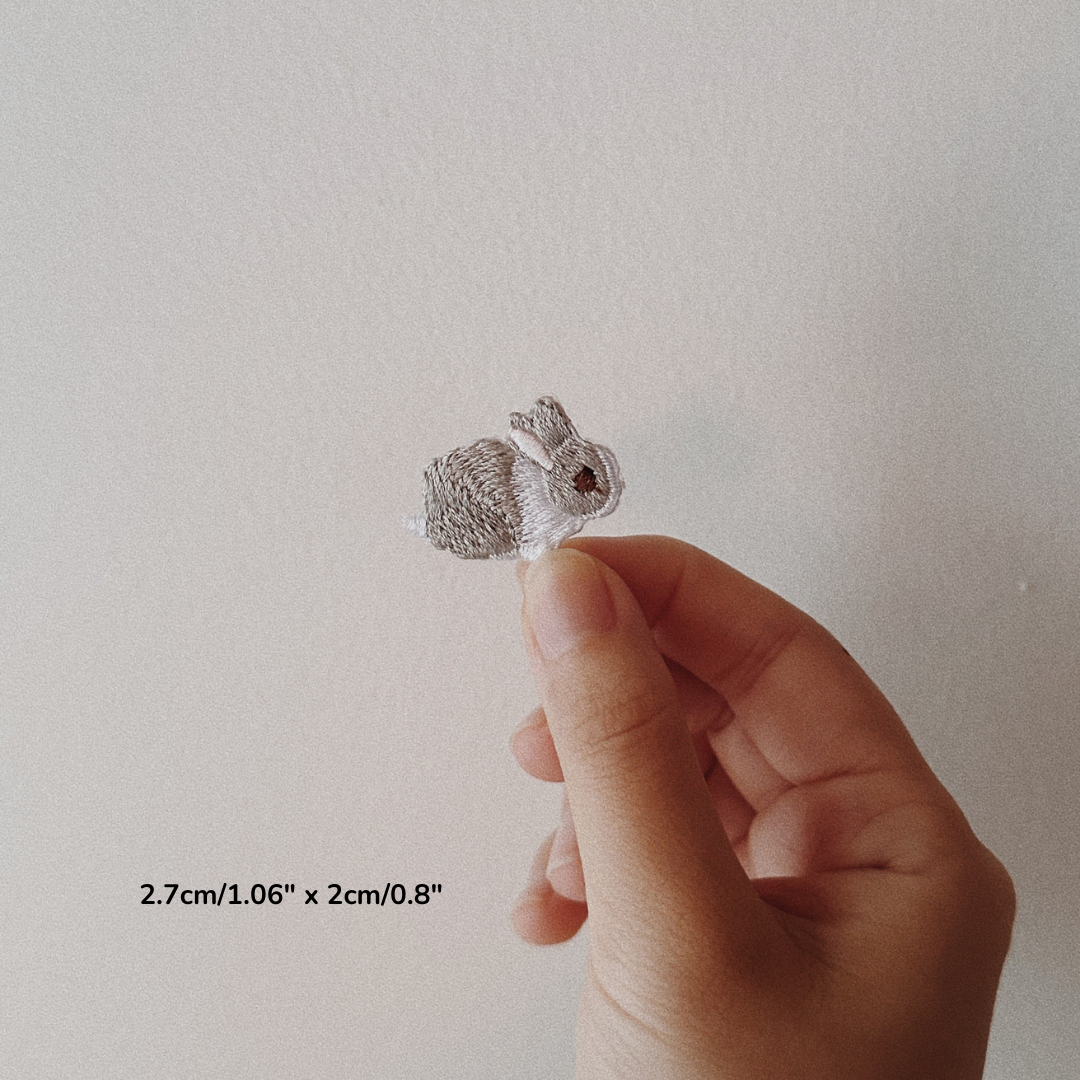
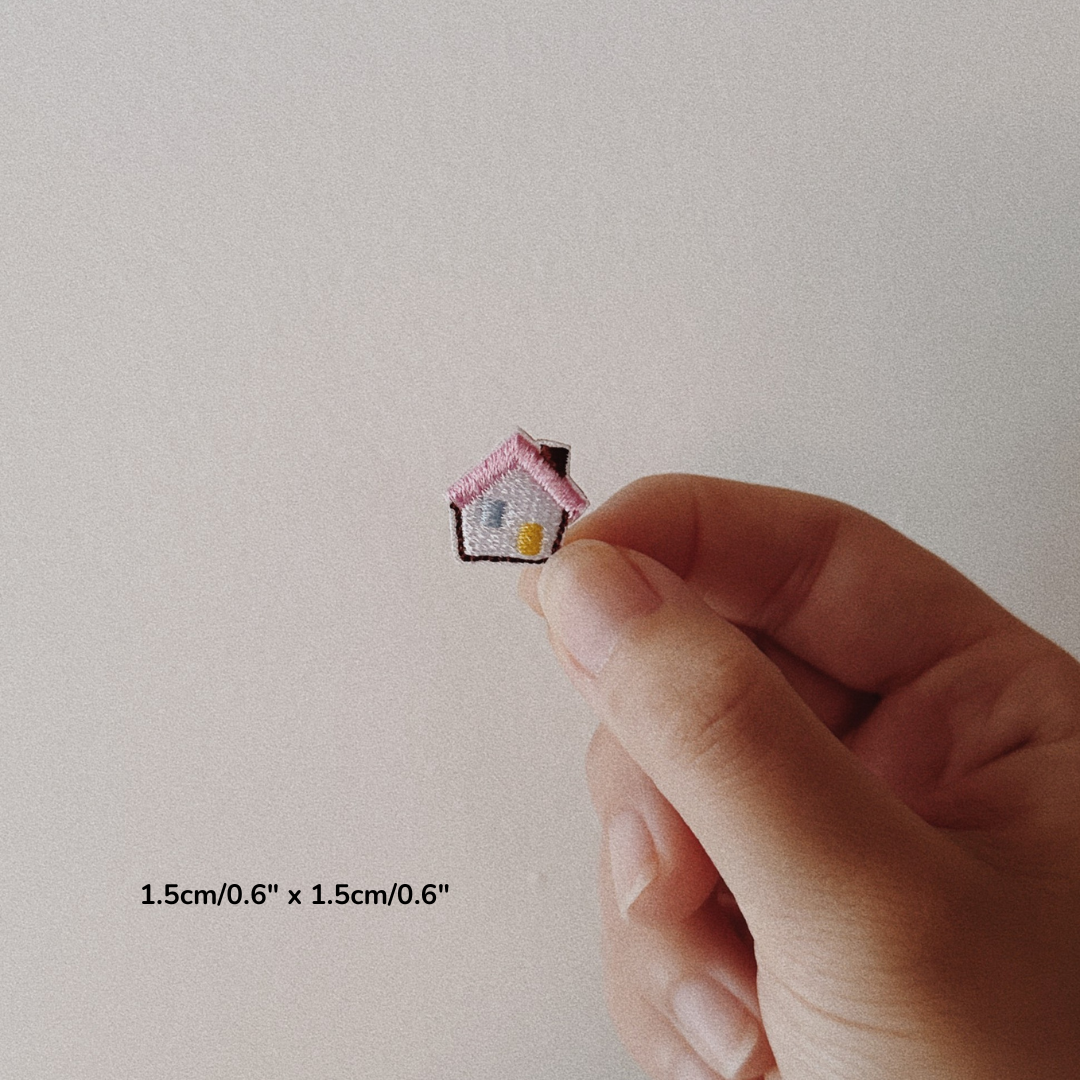
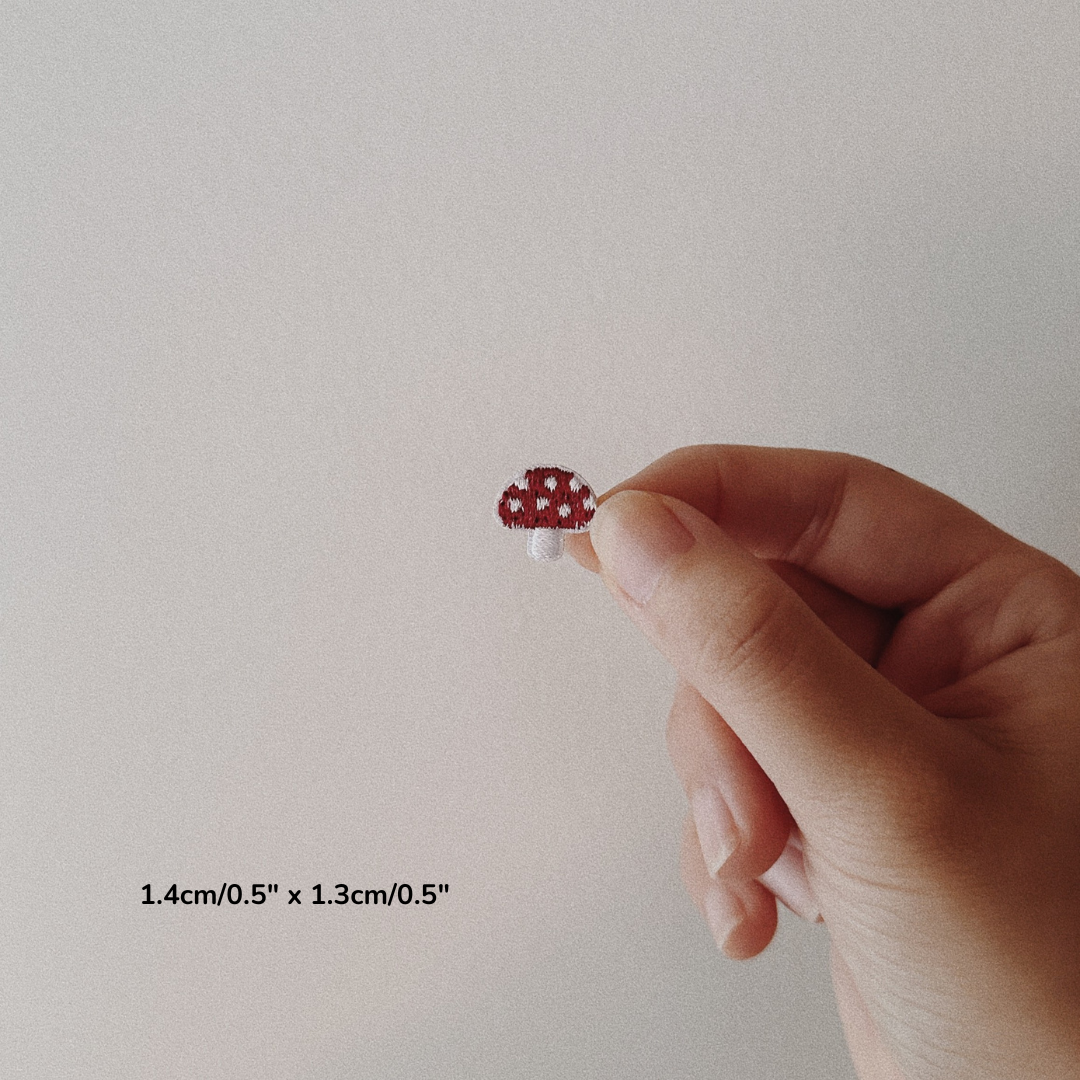
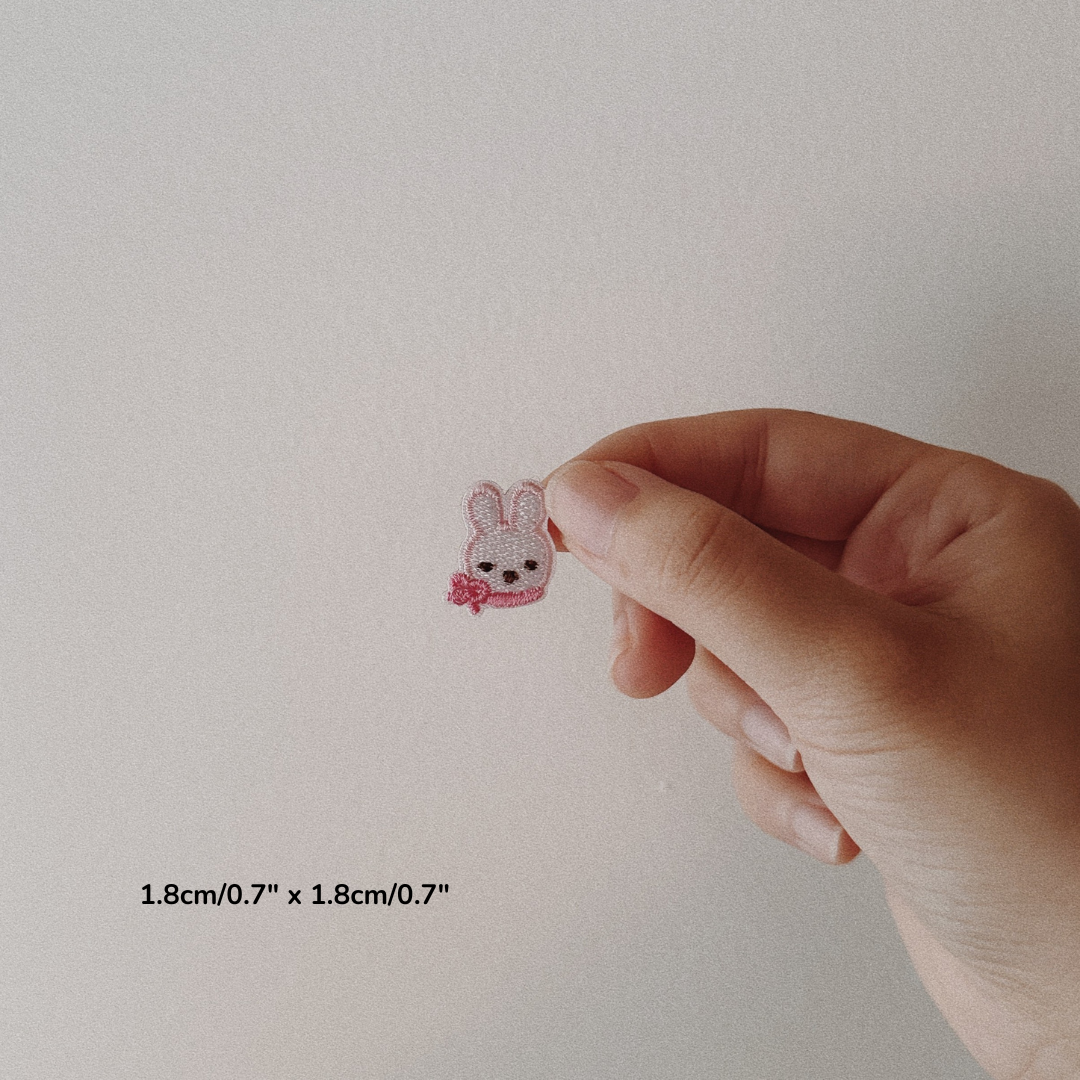
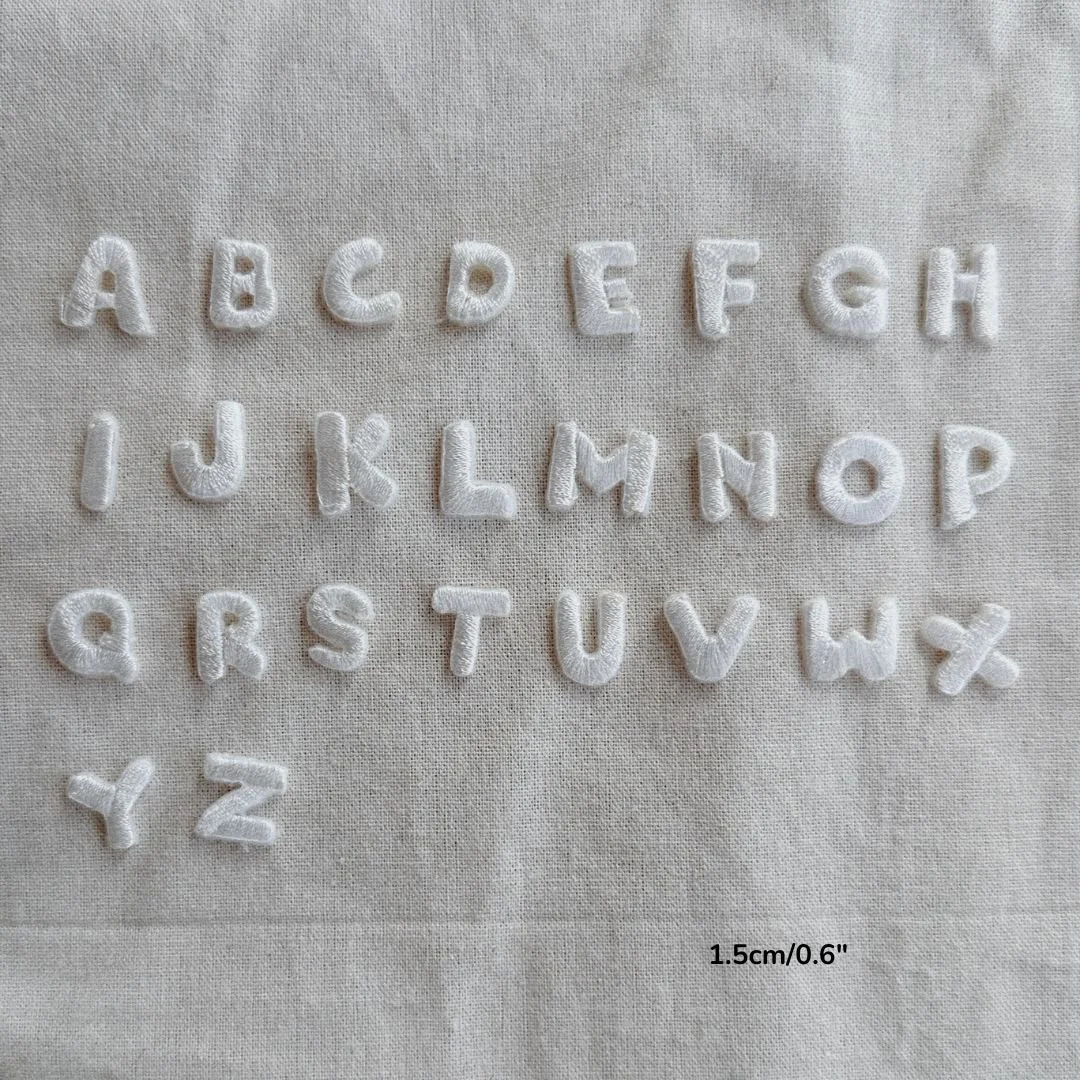
DIY iron-on patches

kits-square.png
how to order.png
WMRB6013a.JPG
kits-square.png
kits-square (2).png
24.png
60.png
59.png
40.png
25.png
41.png
64.png
8.png
16.png
13.png
48.png
44.png
19.png
57.png
61.png
5.png
74.png
1.png
11.png
63.png
22.png
4.png
68.png
7.png
53.png
10.png
20.png
51.png
27.png
35.png
67.png
55.png
65.png
70.png
58.png
14.png
62.png
43.png
YCHC4110.JPG
2.png
73.png
47.png
71.png
17.png
28.png
66.png
54.png
49.png
3.png
39.png
18.png
37.png
9.png
50.png
33.png
15.png
56.png
42.png
46.png
36.png
32.png
21.png
31.png
23.png
72.png
38.png
6.png
52.png
29.png
30.png
69.png
12.png
patch.jpg
45.png
34.png
kits-square.png
how to order.png
WMRB6013a.JPG
kits-square.png
kits-square (2).png
24.png
60.png
59.png
40.png
25.png
41.png
64.png
8.png
16.png
13.png
48.png
44.png
19.png
57.png
61.png
5.png
74.png
1.png
11.png
63.png
22.png
4.png
68.png
7.png
53.png
10.png
20.png
51.png
27.png
35.png
67.png
55.png
65.png
70.png
58.png
14.png
62.png
43.png
YCHC4110.JPG
2.png
73.png
47.png
71.png
17.png
28.png
66.png
54.png
49.png
3.png
39.png
18.png
37.png
9.png
50.png
33.png
15.png
56.png
42.png
46.png
36.png
32.png
21.png
31.png
23.png
72.png
38.png
6.png
52.png
29.png
30.png
69.png
12.png
patch.jpg
45.png
34.png

DIY iron-on patches

from CA$2.00

If you order more than one item, shipping will be automatically combined and excess will be refunded.

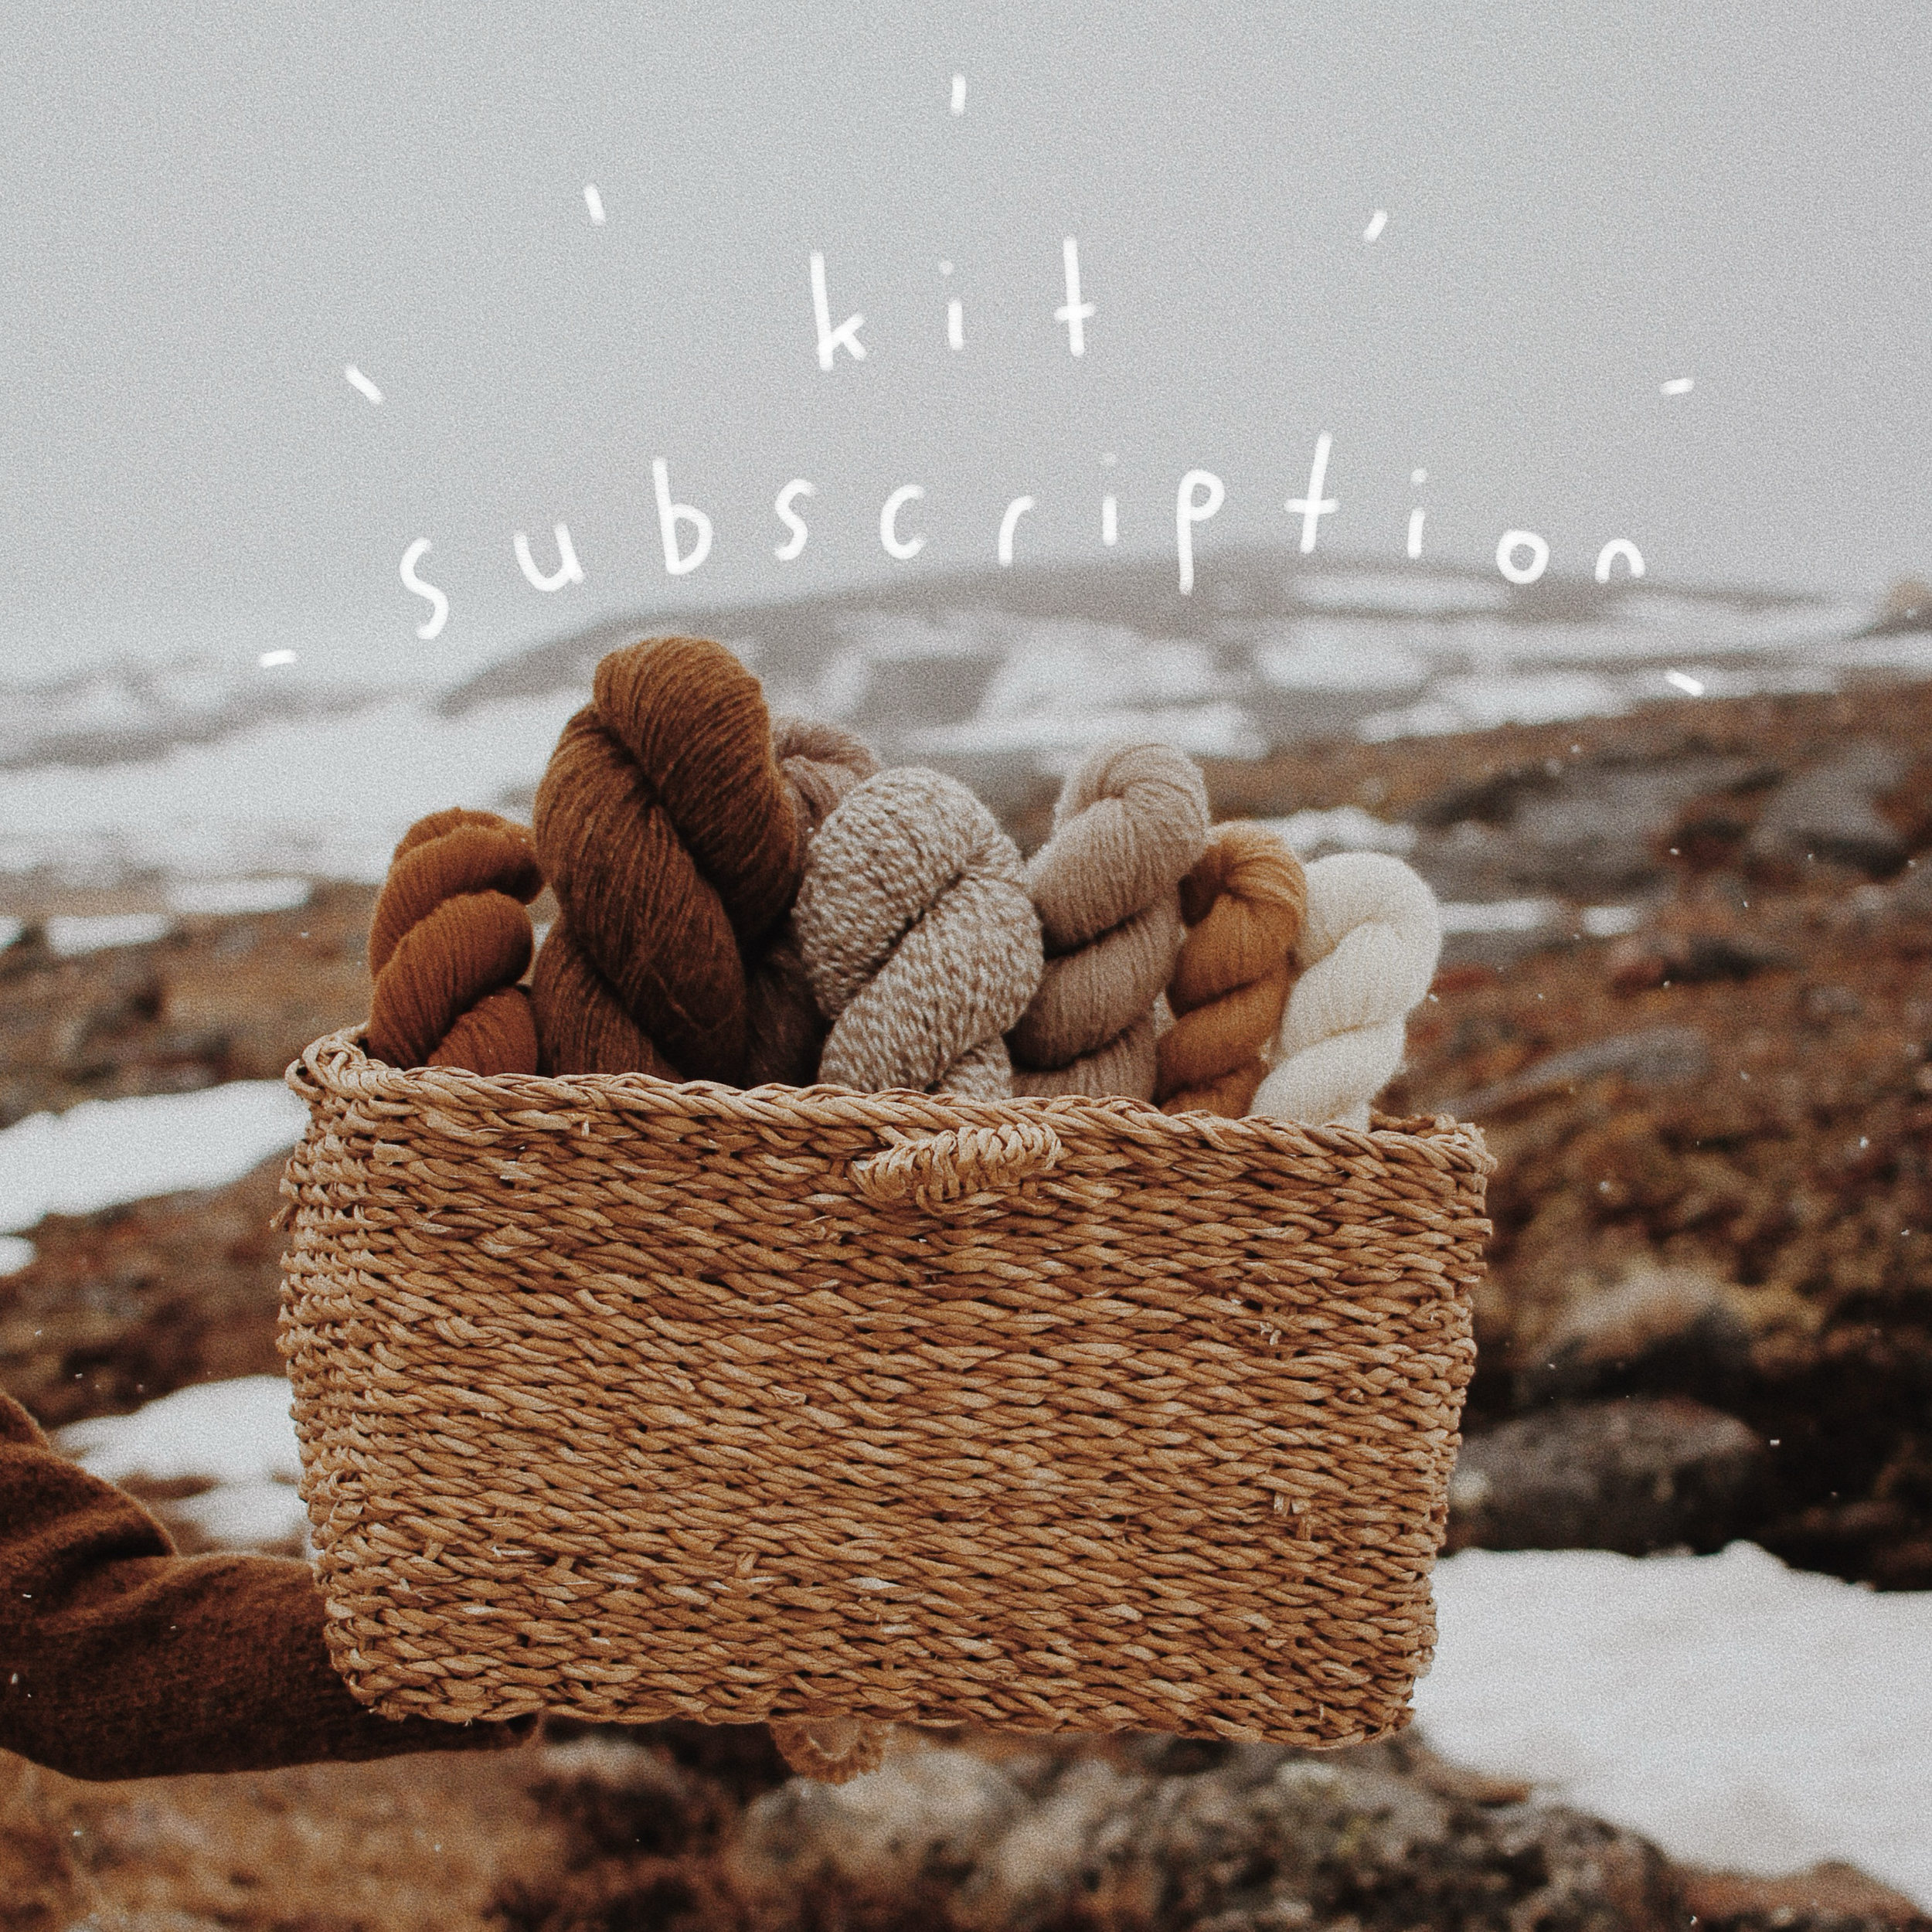
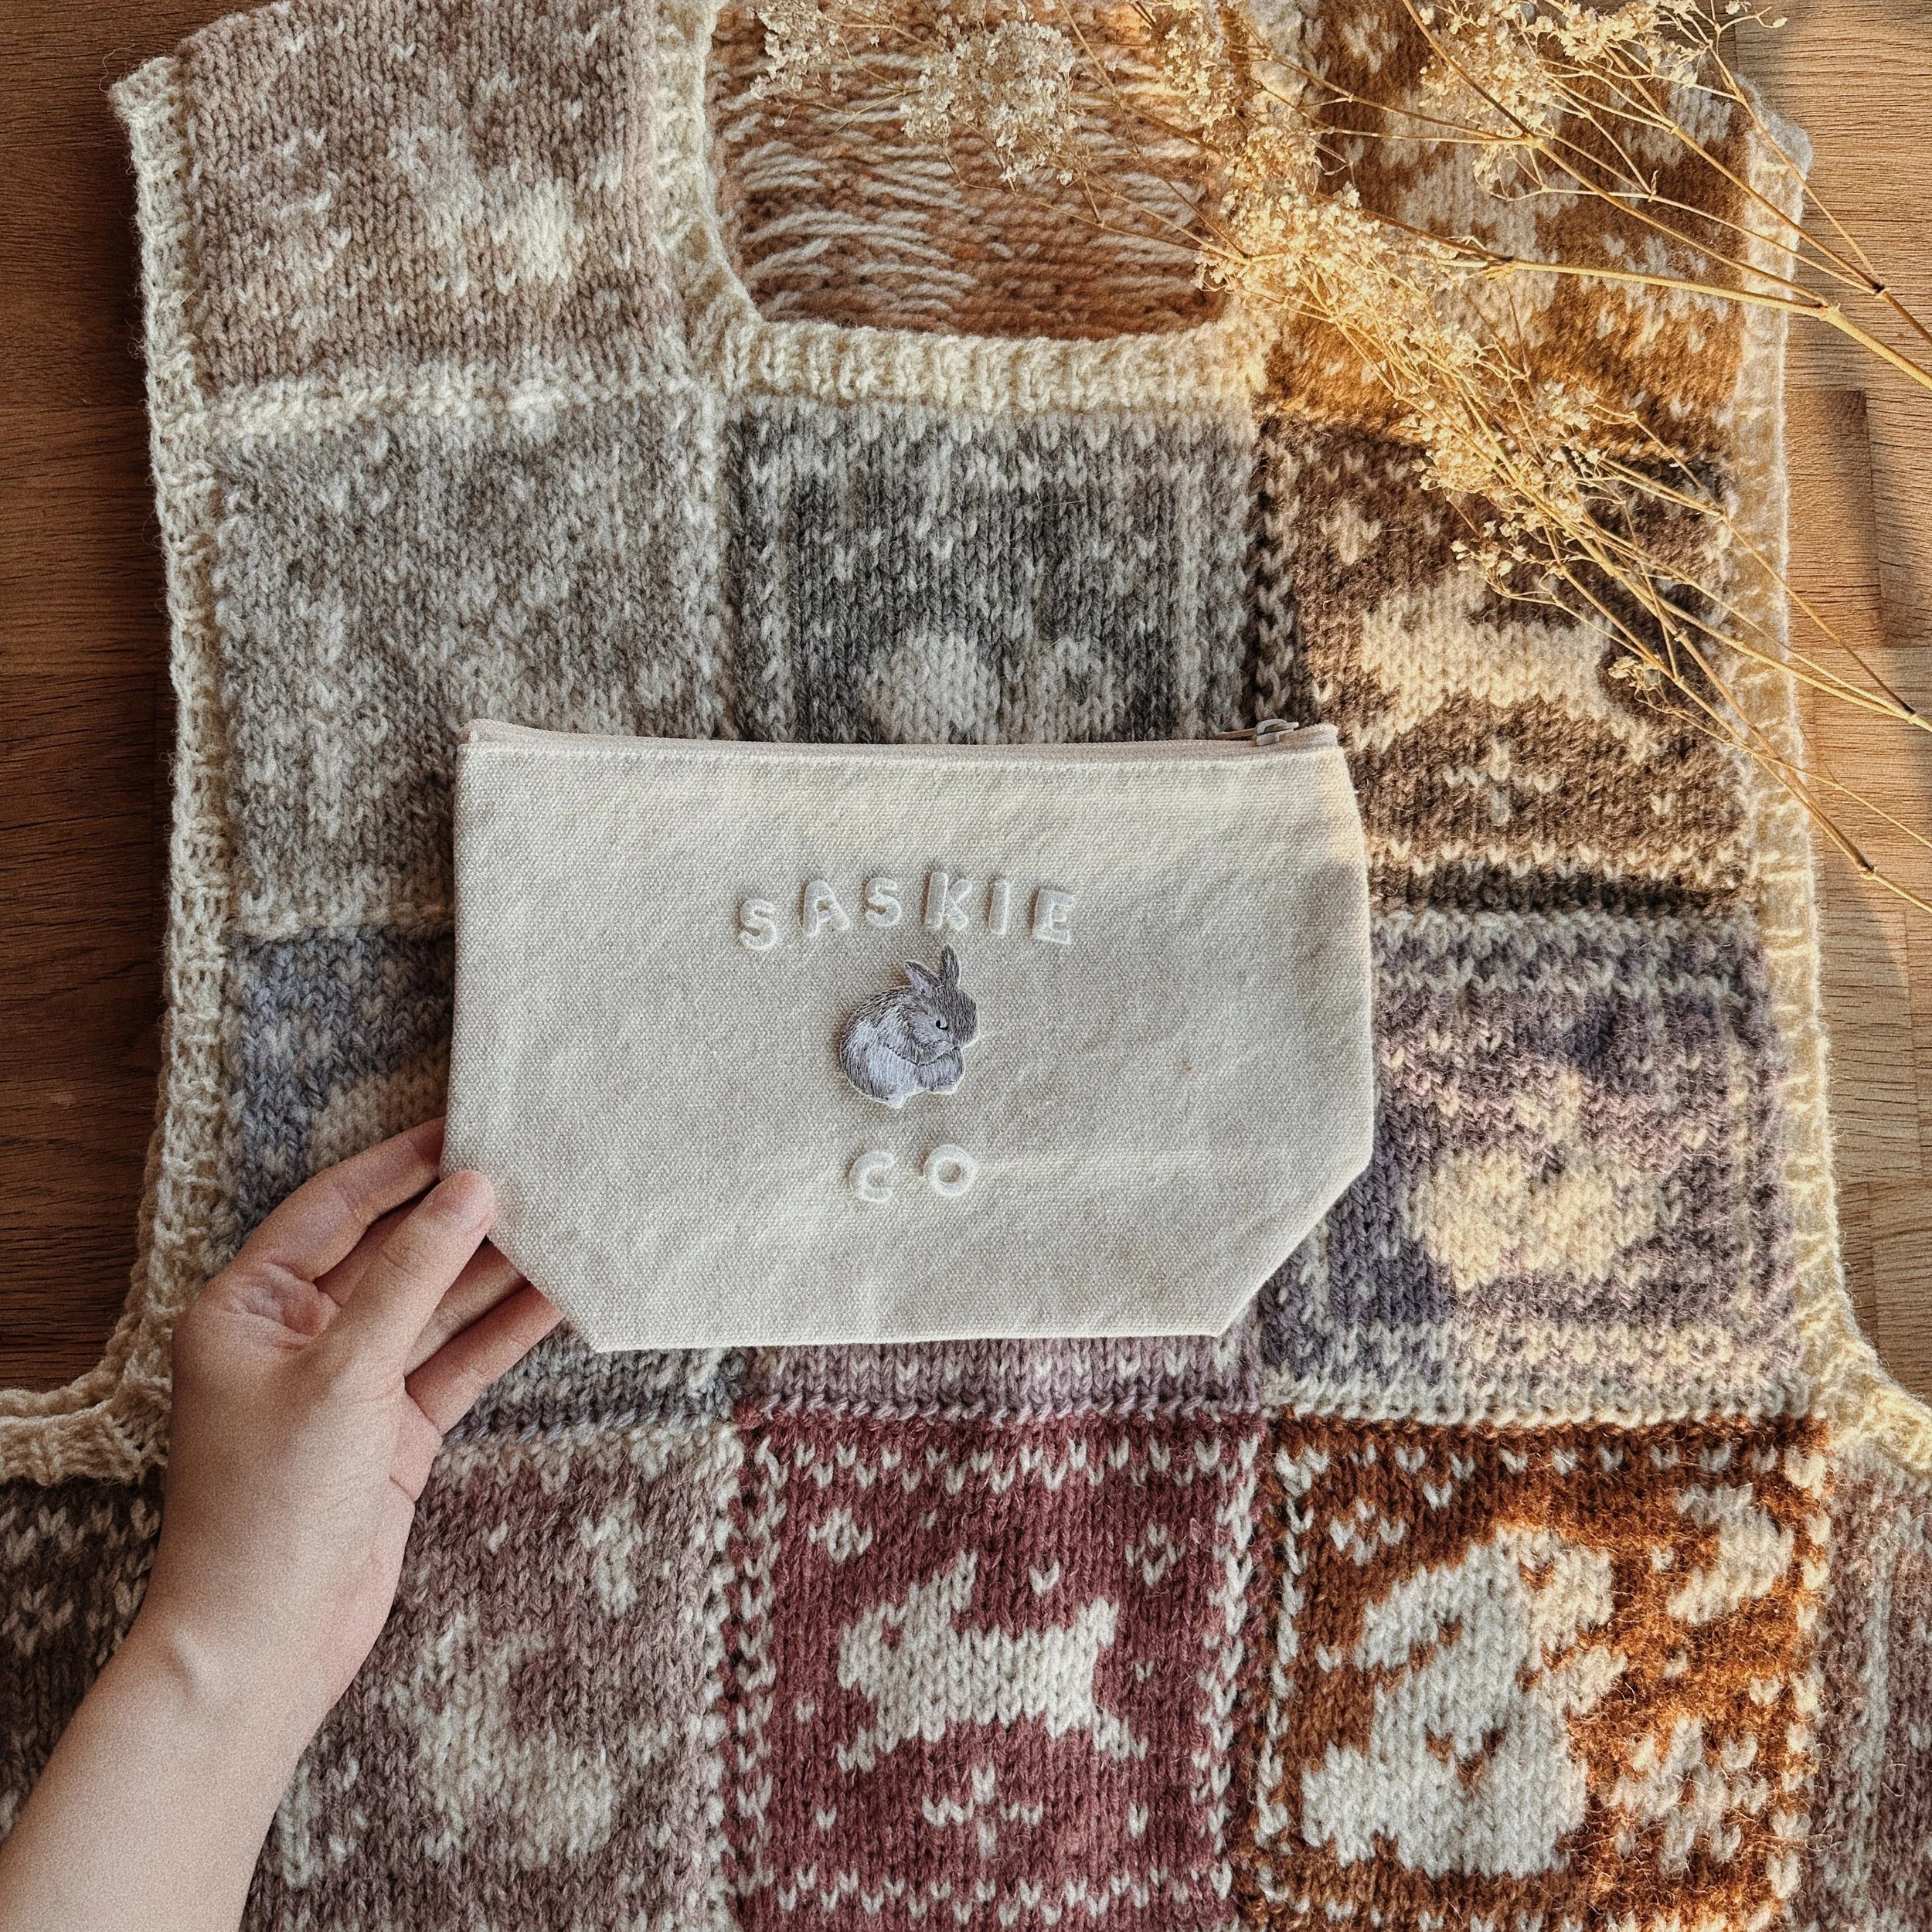
Customize your very own knitting bags with our cute patches!

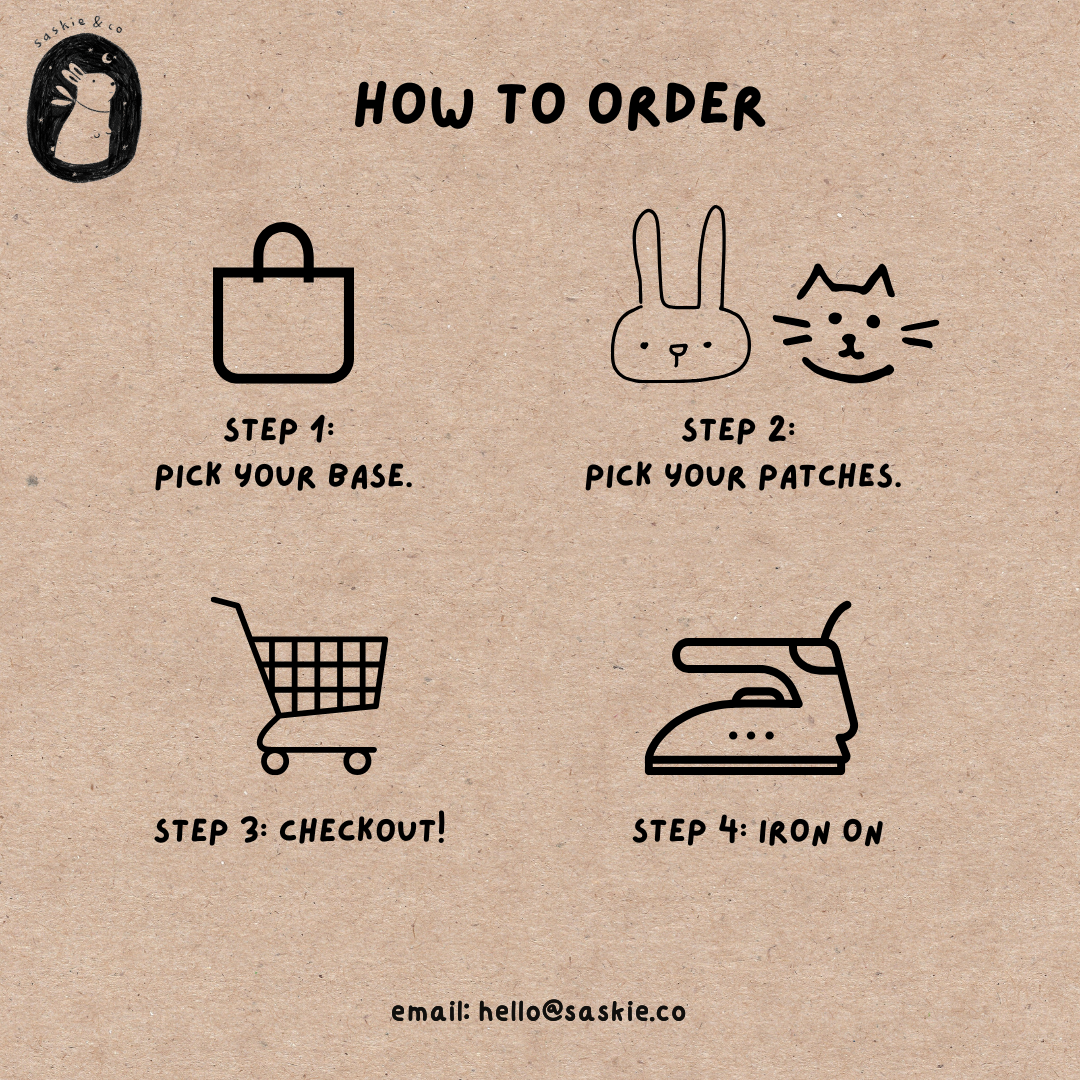
Step 1: Pick your base here. There are 4 options: project bag, large knitting pouch, small knitting pouch and needle bag.
Step 2: Pick the colour of your base.
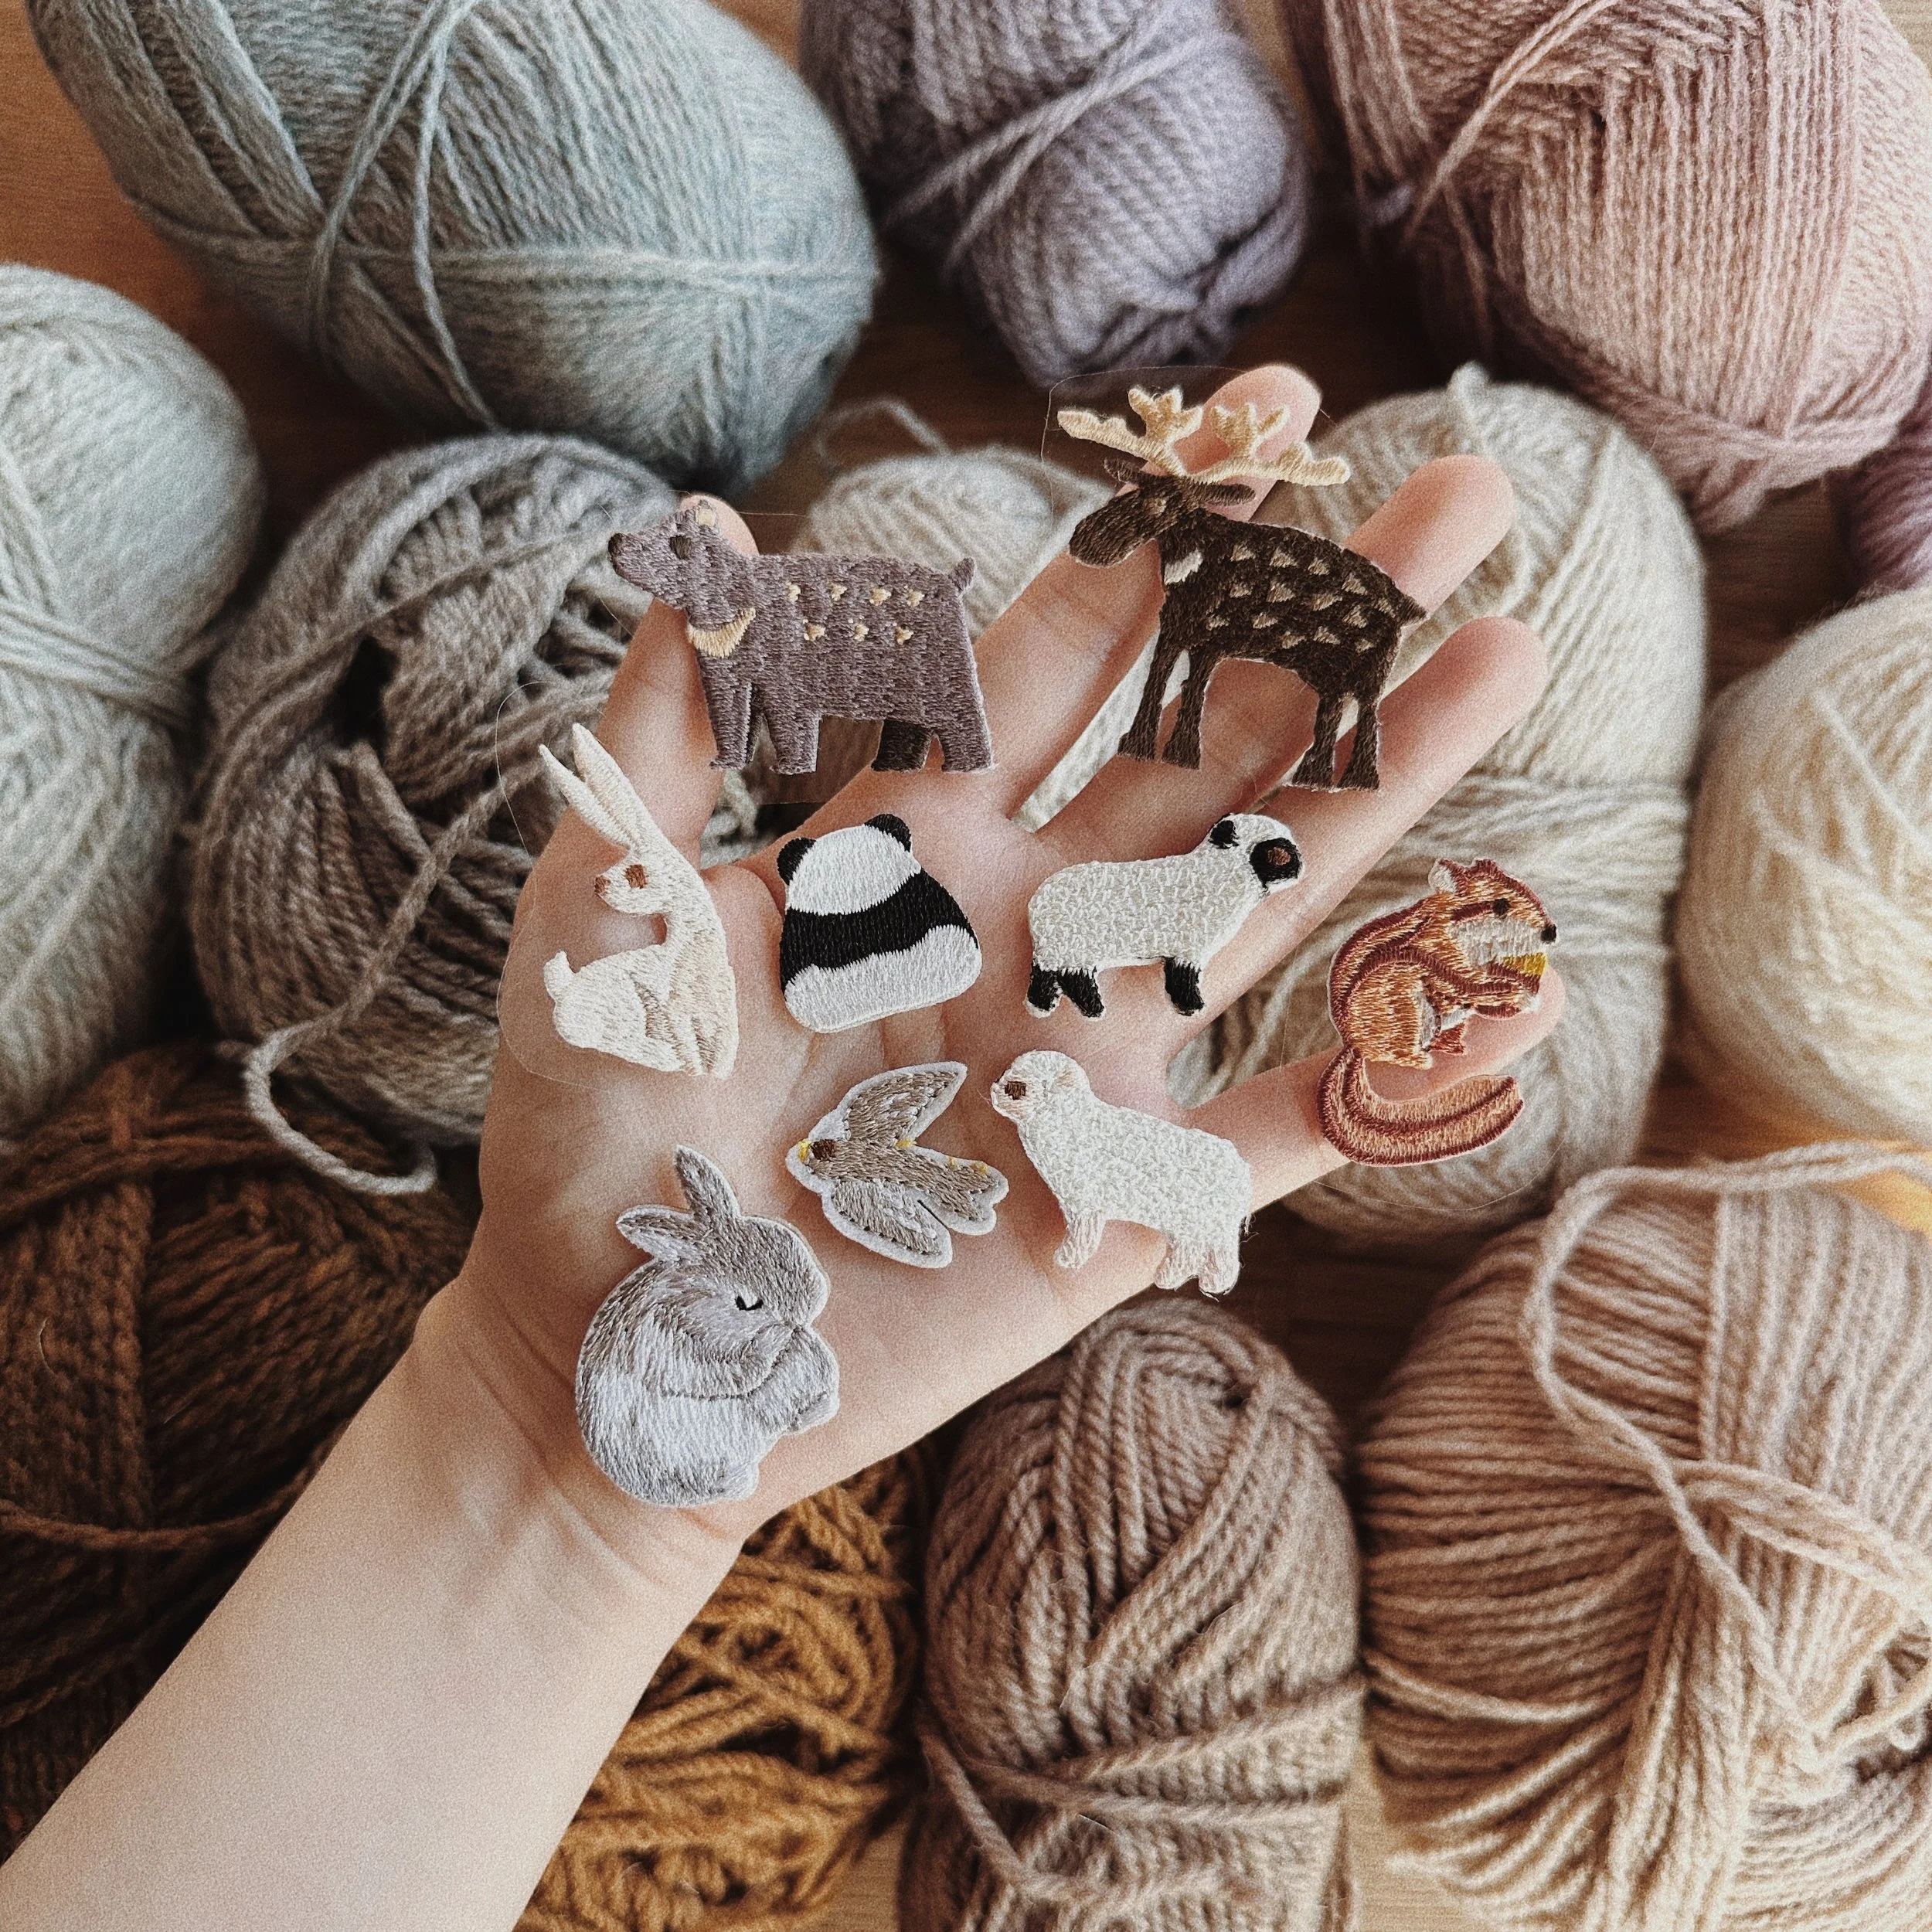
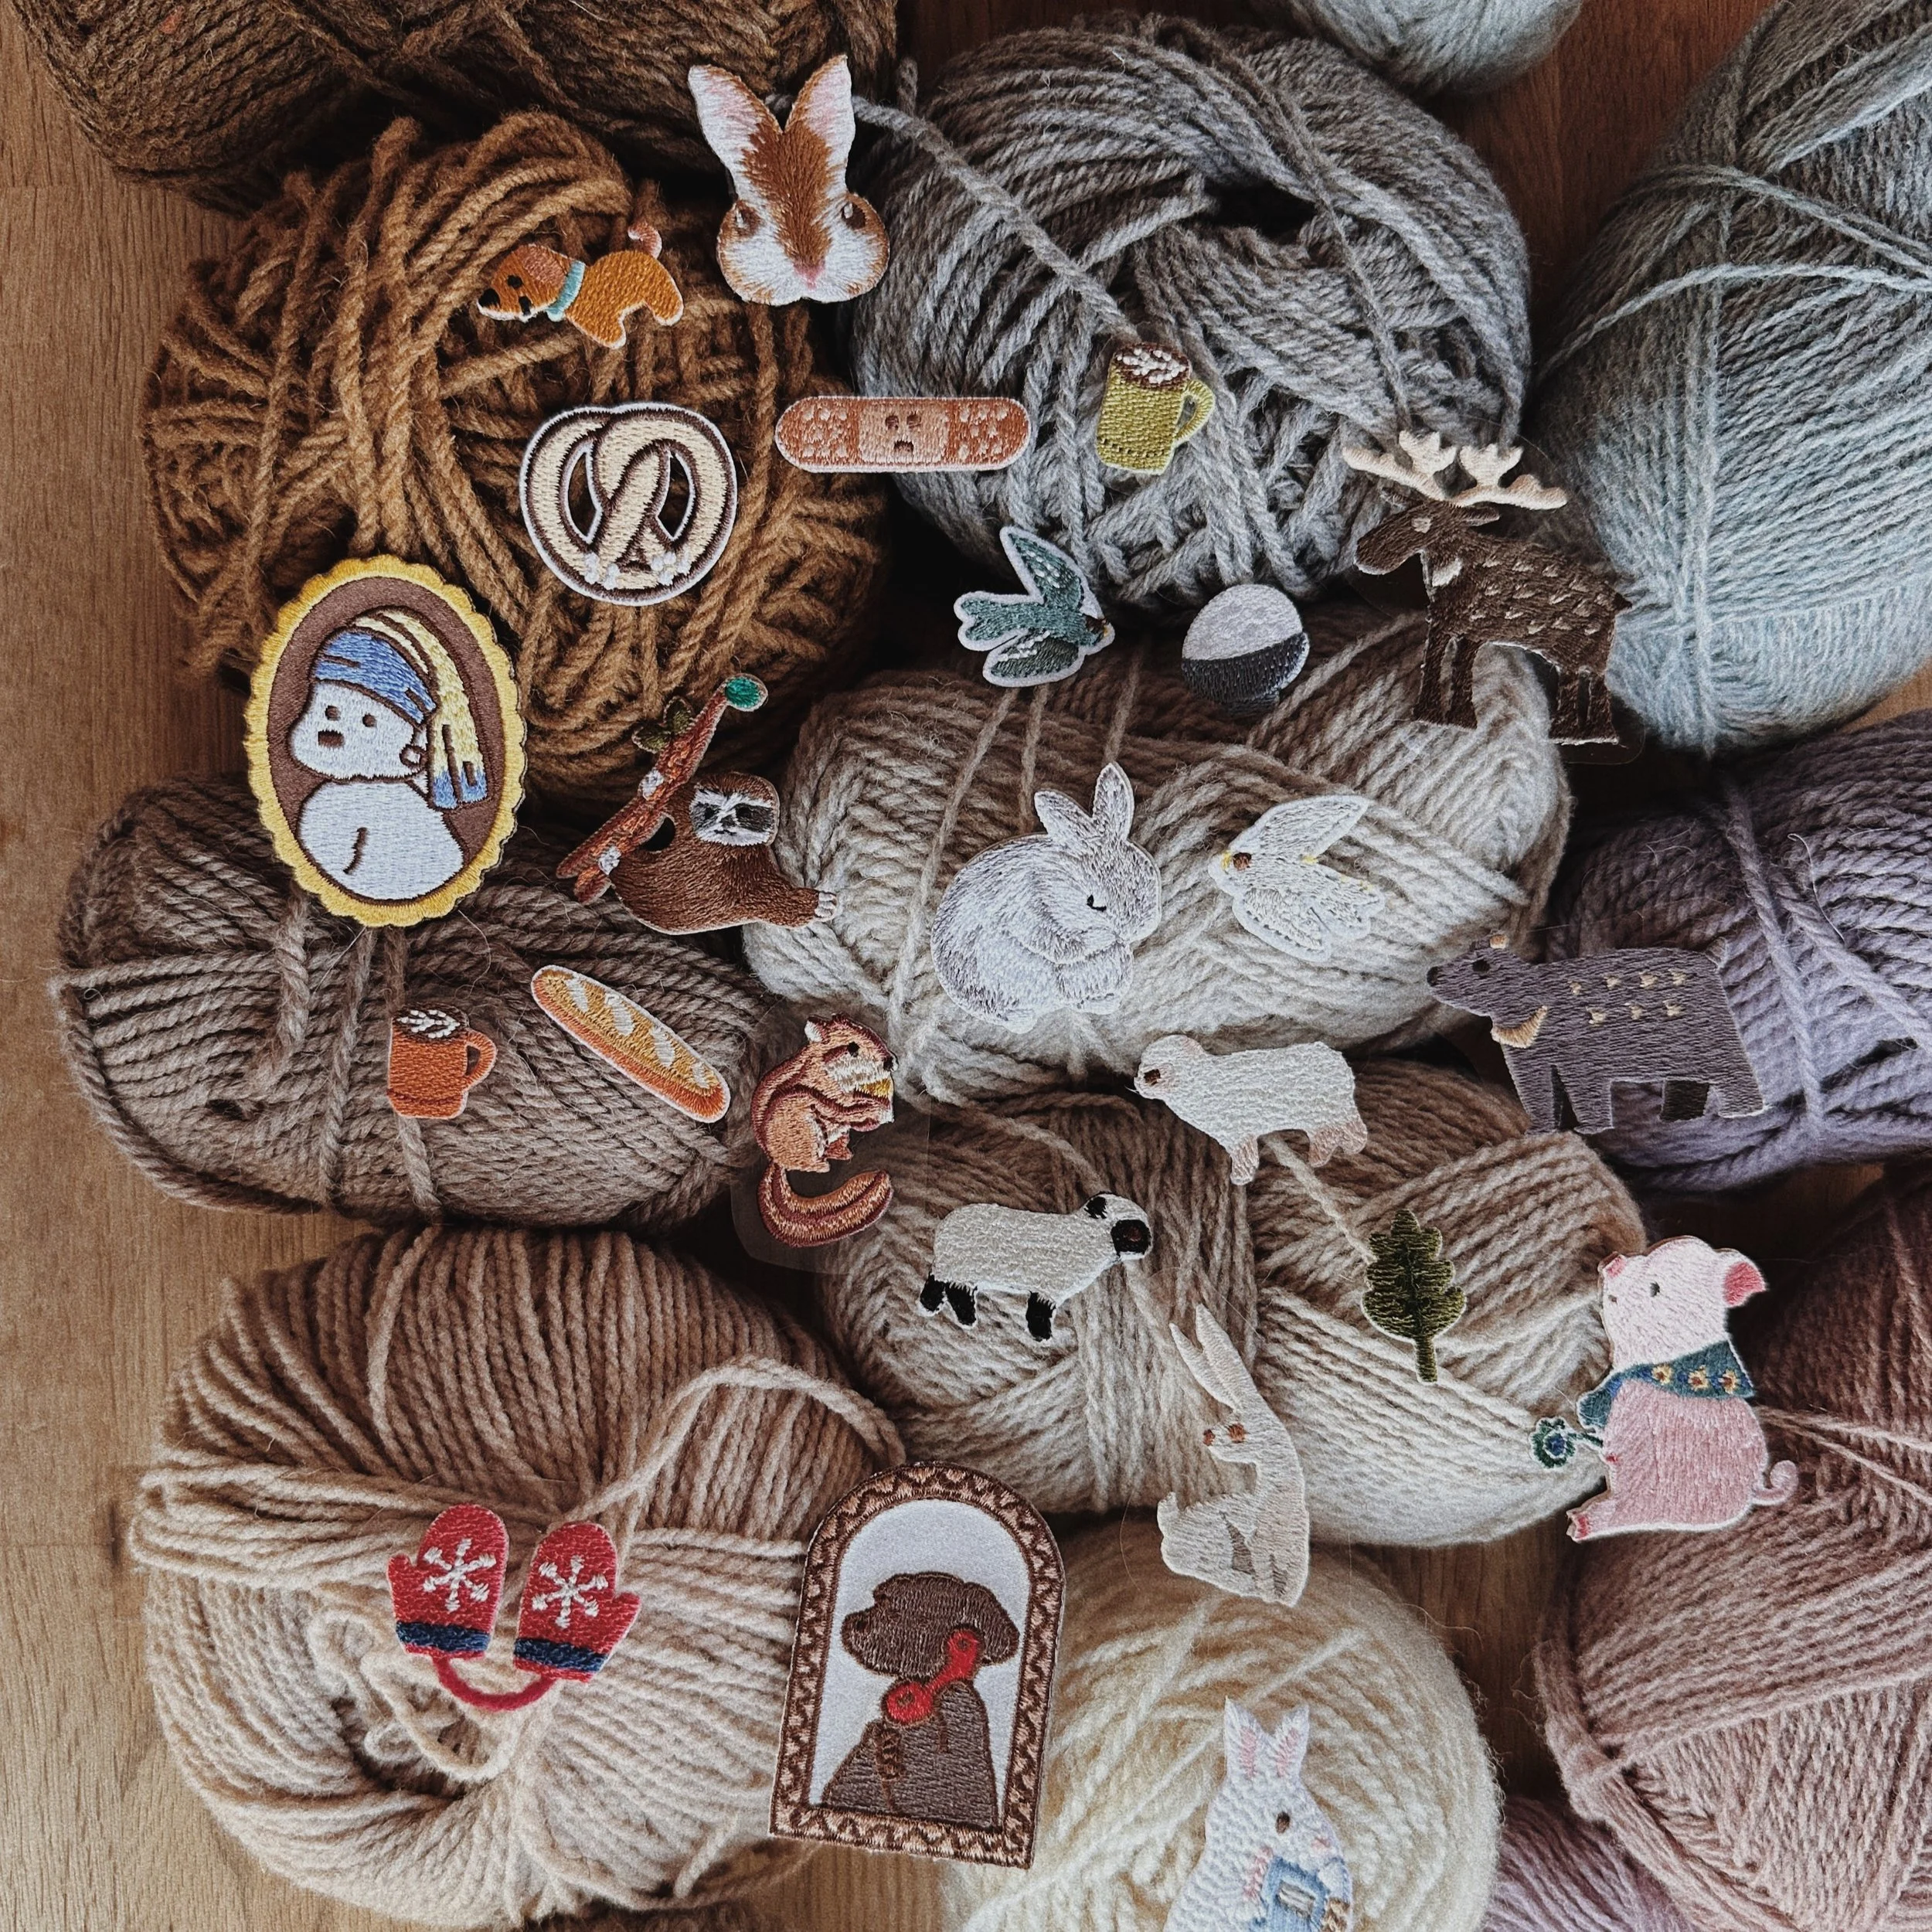
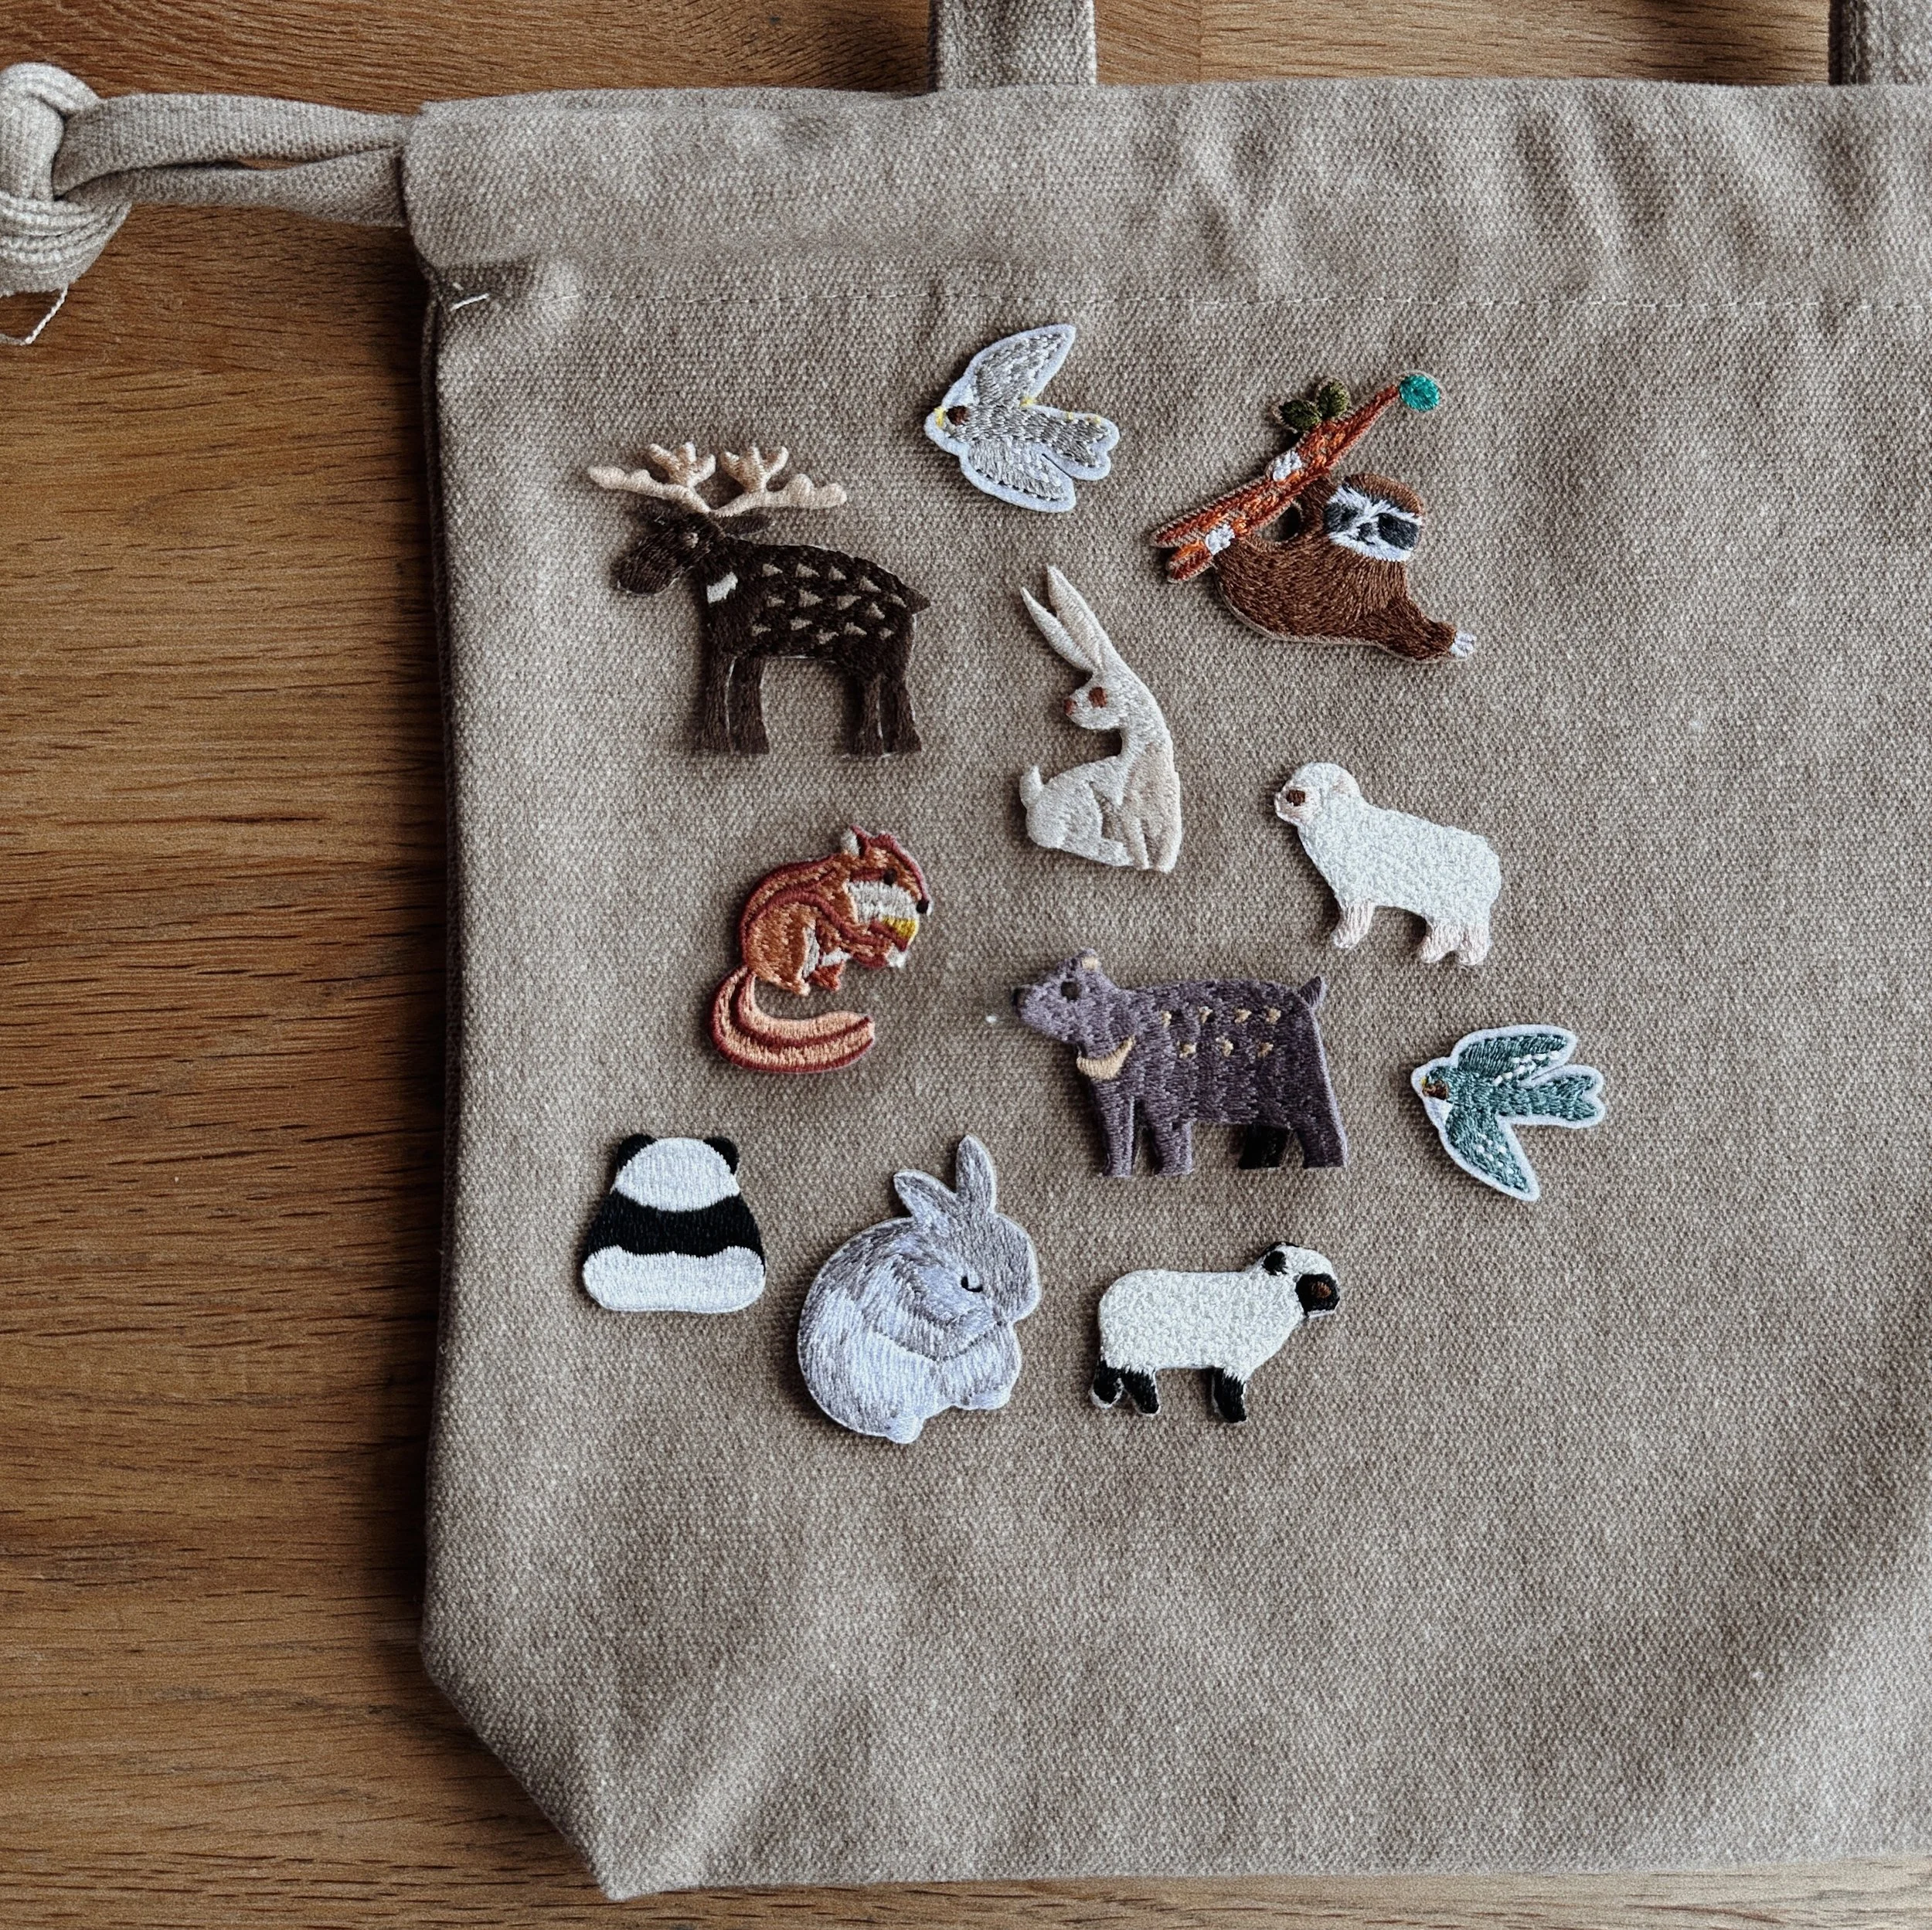
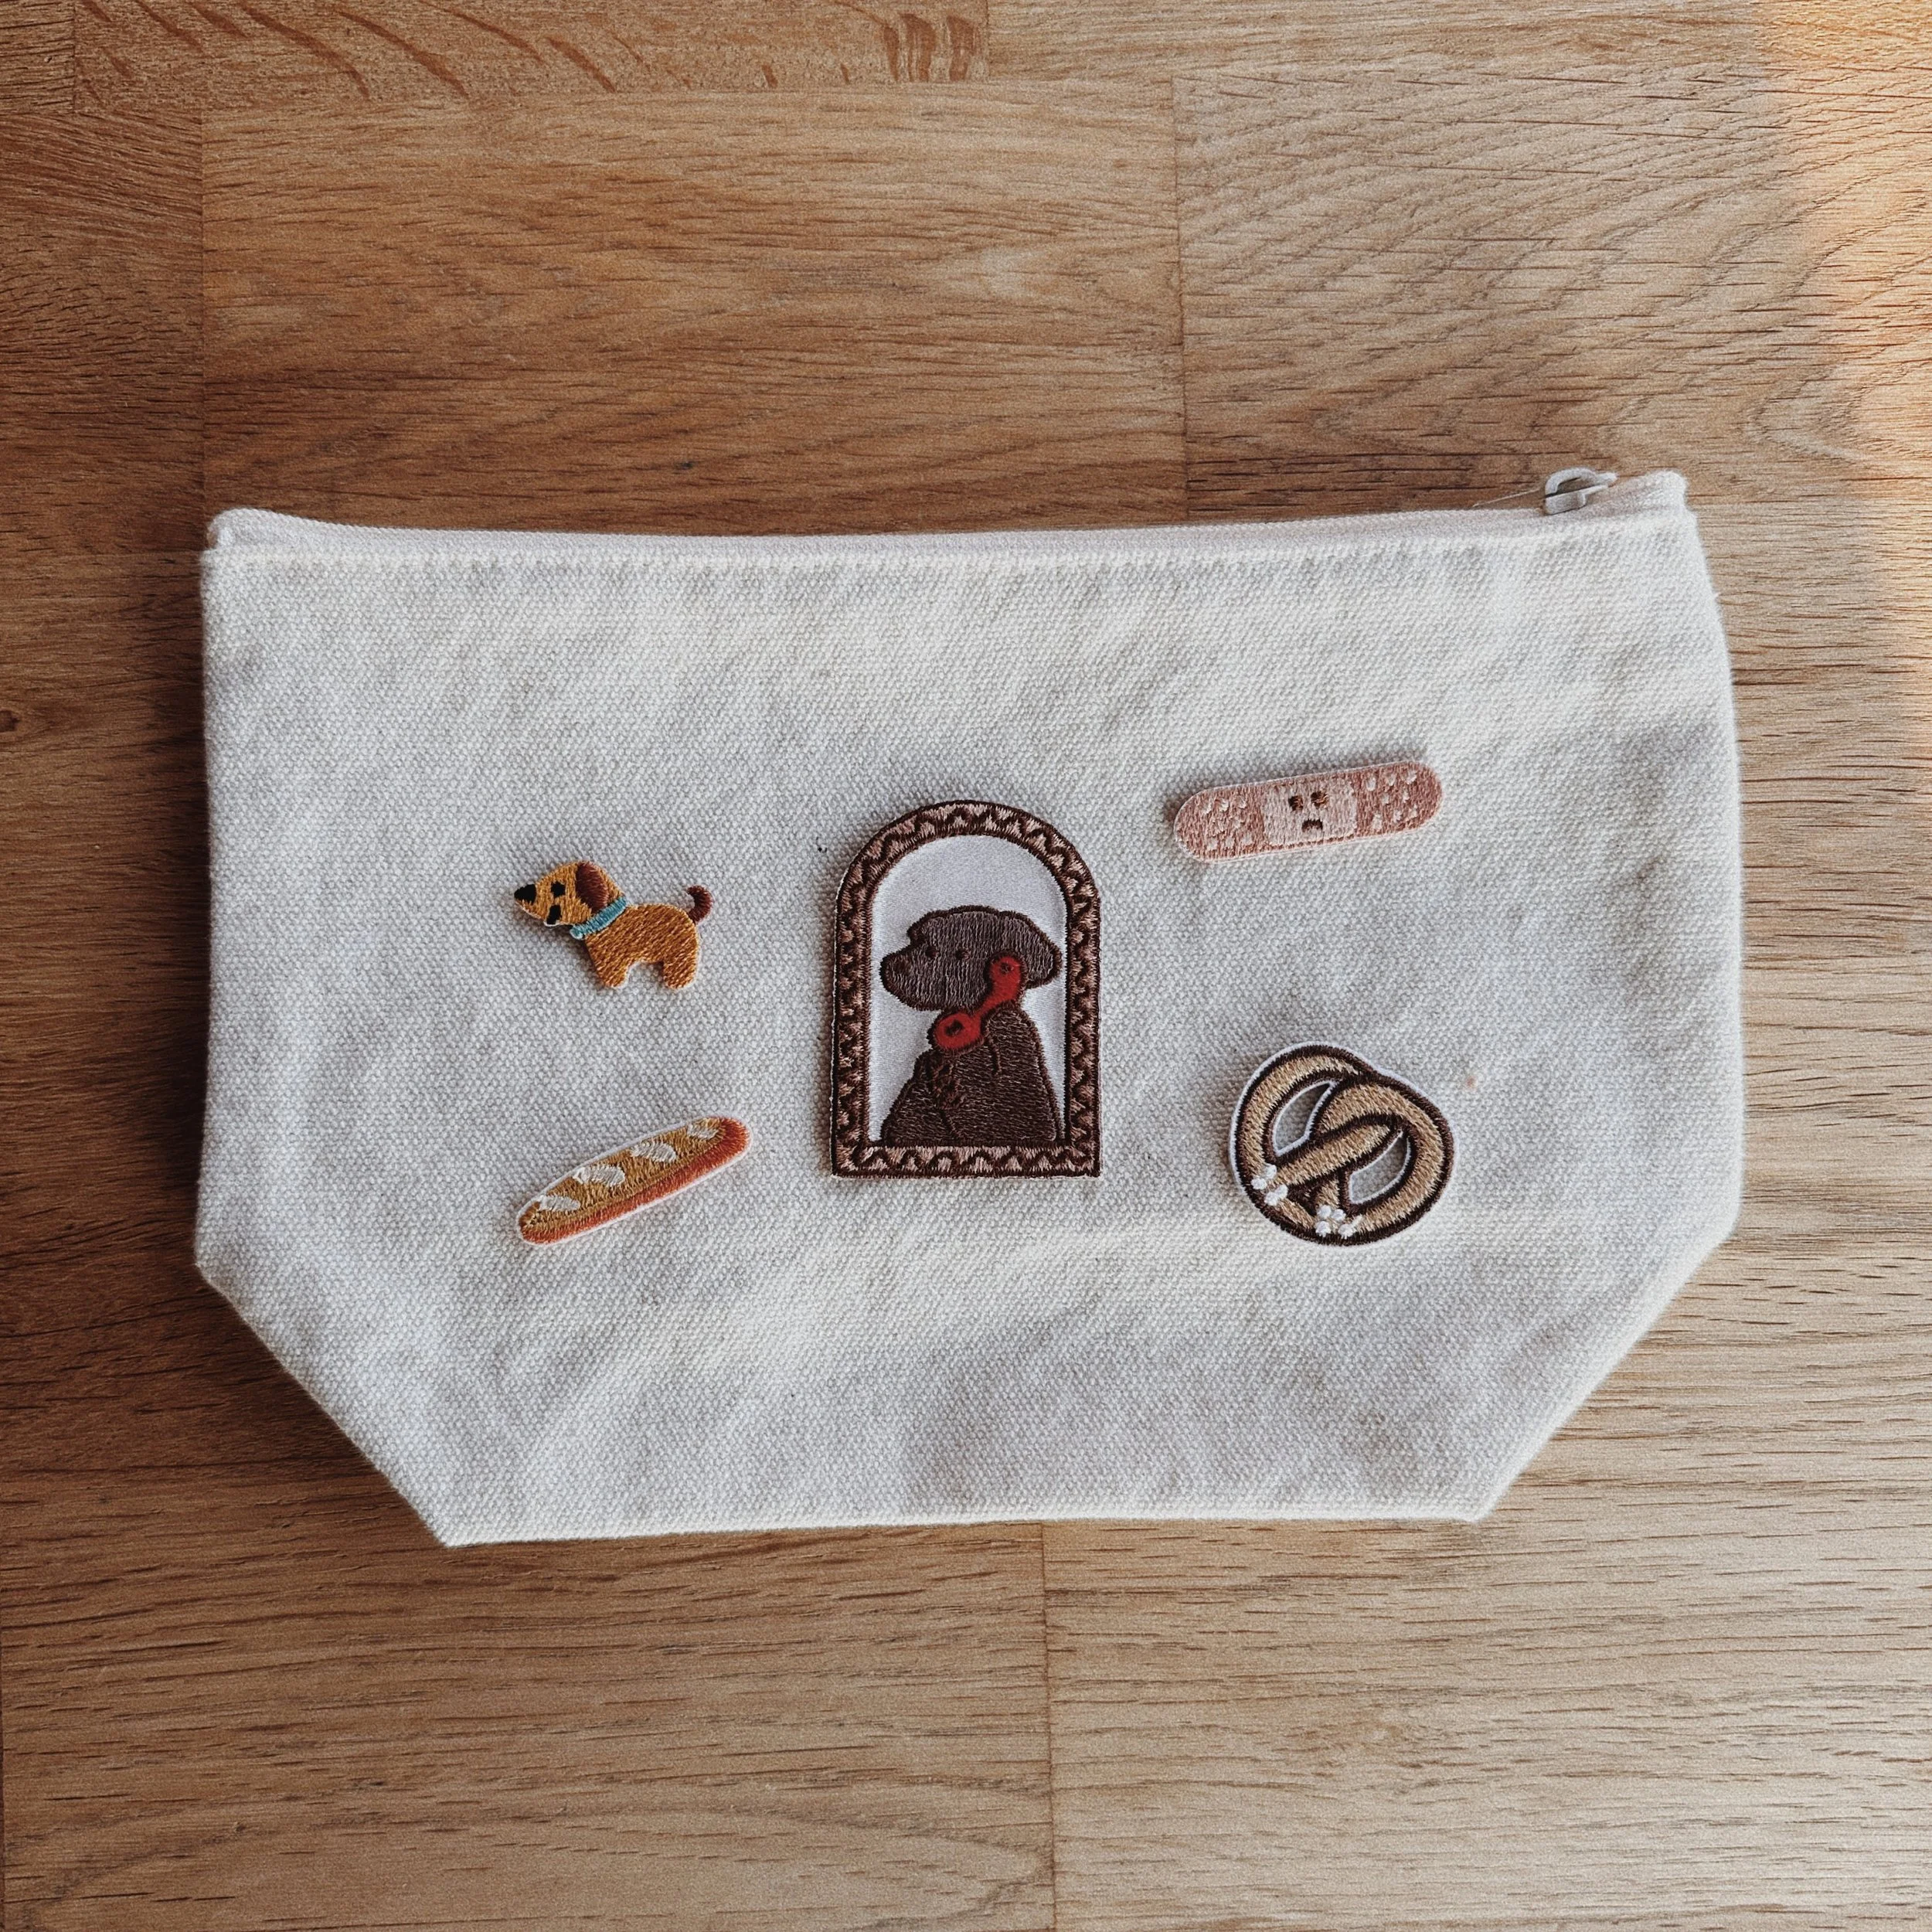
Step 3: Pick your patches. We have over 80 to choose from.
Step 4: Checkout!
Step 5: Iron them on anywhere you prefer.

Frequently Asked Questions

1. Where should I iron these patches on?
You can choose from 10 different bases here.

2. How do I apply the iron-on patches?
It’s simple! Place the patch where you want it, cover it with a towel or cloth, and press a hot iron on top for about 20–30 seconds. Do you move your iron back and forth as it will change the position of the patches. Make sure to follow the included instructions for best results.

3. What kind of iron should I use?
Any standard household iron will do. Just make sure it’s set to a high heat setting (usually "cotton") with no steam.

4. Can I wash the bag after applying the patches?
Of course! We recommend hand washing or using a gentle cycle with cold water to help the patches last longer. Avoid high heat in the dryer—lay flat to air dry instead.

5. Can I move or remove a patch once it’s applied?
Iron-on patches are meant to stay put, so once they’re on, they’re on. Removing them may damage the fabric of the bags or leave residue, so double-check placement before ironing.

6. Can I sew the patches on instead of ironing?
Absolutely! Sewing can give extra durability—especially for heavy use. You can even do both: iron to place, then sew to secure.

7. Will the patches work on any type of bag material?
We recommend using the bases we offer. They work best on cotton, canvas, denim, and other natural fabrics. Some synthetic or coated materials may not bond well with the adhesive.

8. Are the patches reusable?
They’re designed for single use only.

9. Do you offer an ironing-on service?
We don't, and here’s why: Since everyone has their own preferences when it comes to patch placement, we believe it's best to let our customers iron on their own patches. This way, you can achieve the exact look you want and get the most ideal results.

10. Can I order extra patches separately?
Absolutely. If you already have a bag you want to spruce up with our patches, you can go ahead and order them.

Note: Items are handmade and will vary in size. Colours may appear differently due to photography. Please check shop policies for pre-order, shipping and processing times here before purchasing.

type:
Quantity:
Add To Cart